LONE WALKER – Short Film

The Classy Zombie
Mike’s snarling expression as a Classy Zombie

The first zombie-related video I was going to produce (other than the gameplay videos on Intelligic) was going to be a comedy one. In fact, I had actually started producing this comedy zombie video around the same time I was producing my 2013 short film, Control, but I wasn’t happy with the way it came out in the edit, so I scrapped it and decided to return to it at a later date, perhaps when I had the resources to pull it off properly.

Fast forward to 2014, and that comedy zombie video still hasn’t seen the light of day – but I still really wanted to make a zombie film.
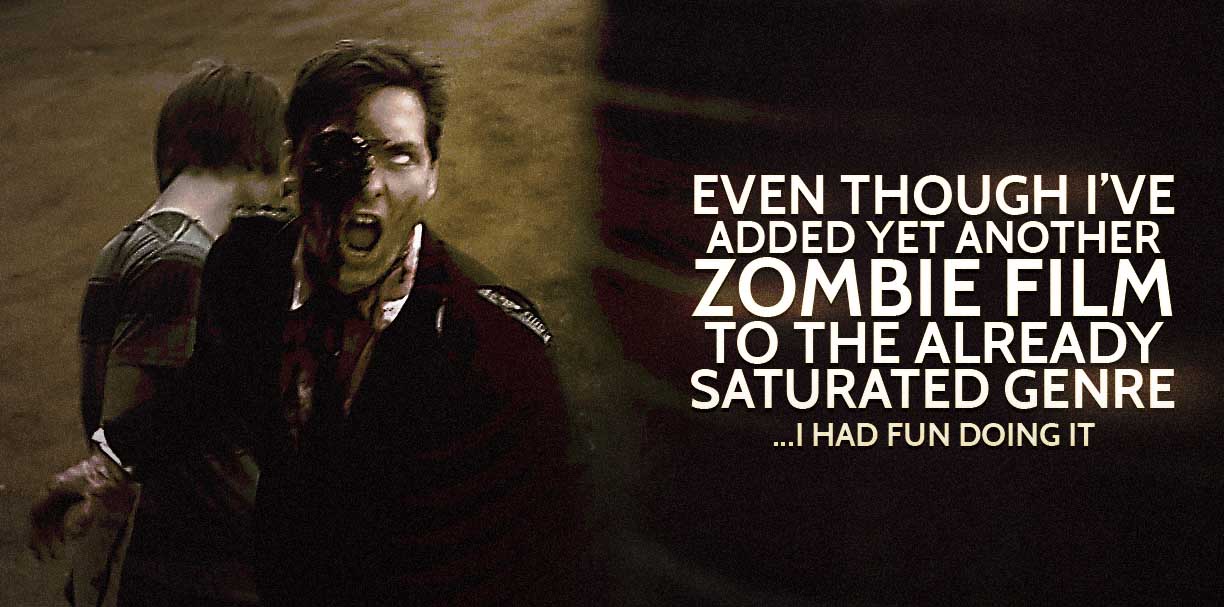
As someone who’s into visual effects, I mainly planned on doing a zombie film for the sole purpose of trying out my zombie effects. I wanted to do some of those typical head-stabbing, knife-jabbing effects that you see in most movies or television serials; the kinds of effects that you look at and think, “I reckon I know how they do that! If only I had some decent footage to mess with.”


In the end, however, my interest for drama overrode that of my visual effects antics, and now I feel as though I need to do ANOTHER zombie film, just to do the effects that had made me interested in doing the film in the first place.

Designed to involve the viewer directly in the unravelling of the narrative, through non-verbal context, LONE WALKER was intended as a backup film for a more ambitious 2014 project. Though ultimately it became my only project, as my more ambitious project requires more time, and possibly even a better film maker. I might have to let time handle it.


Production

I started scripting LONE WALKER in June, with the initial driving concept being that of, “Oooh, I wanna do zombie effects,” and, “What would it be like if you were a zombie?”

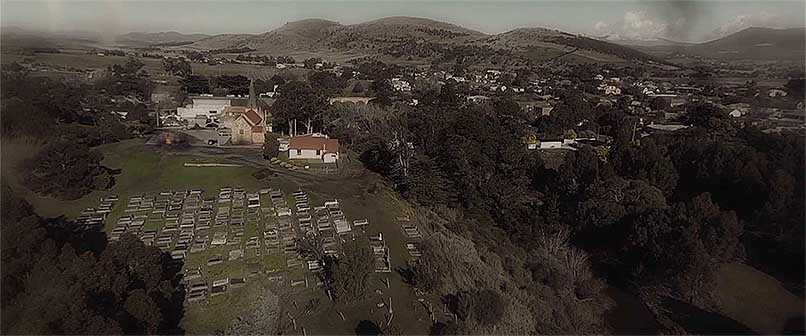
As it was intended to be a backup film, it was conceived with a fast-tracked production cycle in mind, resulting in the fact that there’s not a particularly spectacular display of variety as far as location is concerned (at least to someone who knows the area). It’s also why the film bares an unsettling resemblance to Control, with its reflective and metaphorical narration followed by flashbacks time-progressing montages and… who could forget, the bloody surplus of fields and paddocks.

Filming began in July, and consisted of two days, and editing in October, with a ‘final version’ being completed late-October – and then a ‘final final version’ and a ‘final final final version’ (the one that went up on YouTube!) being completed during November. All in all, a 6 month project, balanced with school work, exams, moving house, more exams and the coding of a website for a client – and you have a par-average zombie flick. 😉

If you’re interested in what happened behind the camera, well then, you’re in luck. Because Paul filmed the majority of our behind the scenes shenanigans so that I could gather them all up into this video. I haven’t explained the production process to great lengths in this post – and I can’t imagine myself doing so in the future as a follow-up. So if you want to see more production-related stuff, the behind the scenes video is the way to go. You can blame my lack of desire to write about the production process on my media exam, which asked the same thing… and… man… I don’t wanna.


Free Assets

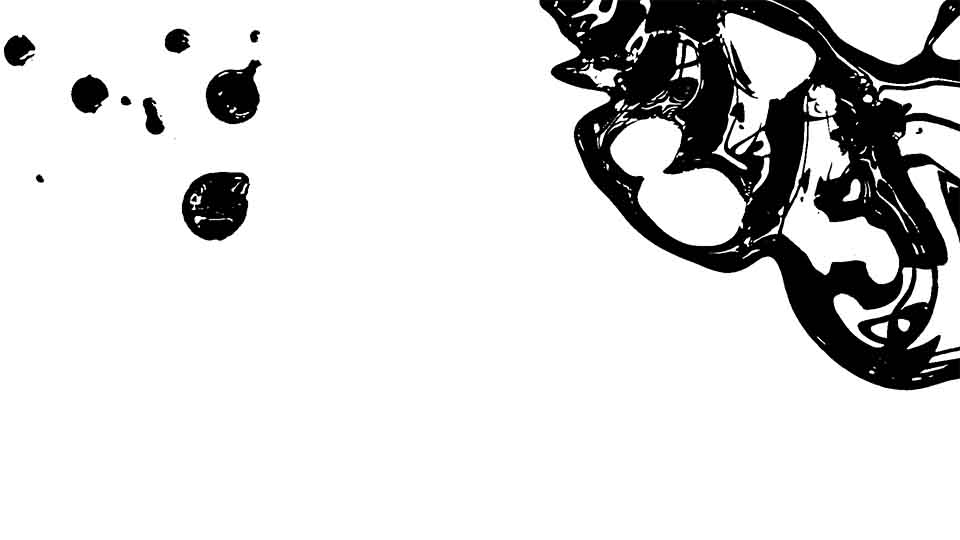
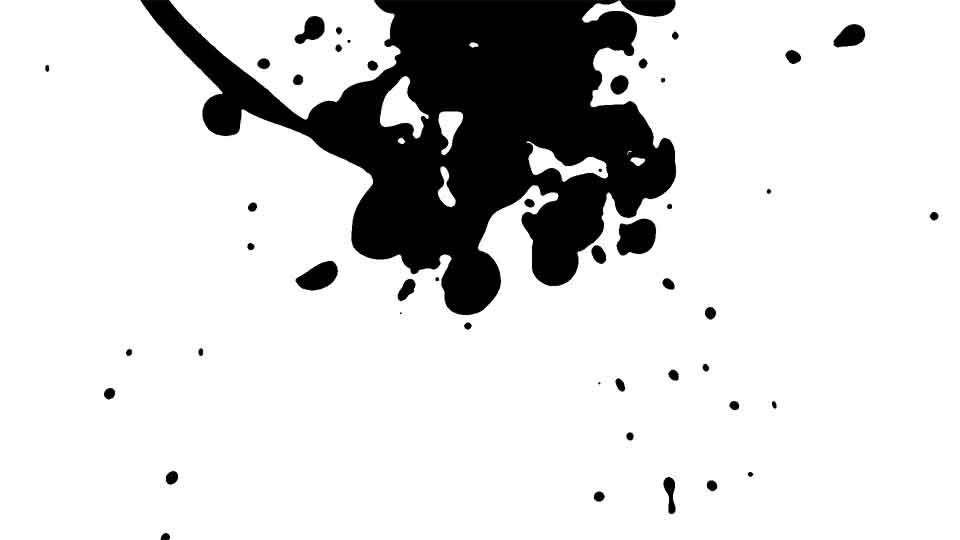
During the post-production of LONE WALKER (editing) I created a number of custom assets. I’m releasing these assets into the Public Domain for anyone to use on their own projects – so hopefully you can find a use for them! The blood assets were a bit rushed, and in the end – I used them for transitions, and for the lower-thirds in the Behind the Scenes video rather than grungy overlays.

These assets will be available for free to download in a ‘Lone Walker – Stock Pack‘ to be released early next year.


Summary

Looking back on it, I do feel that I could have ‘fleshed it out’ far more than I did, but I guess, as Pixar says, “films don’t get finished, they just get released.

Editing alone could continue for an eternity.

I’d like to super-awesome mega-thank everyone that was involved with this project, as it just wouldn’t have been possible without you. Normally, I come up with a strange idea and then try to film it entirely on my own, with the cast and crew being less than the limited bones of a skeleton crew… but thanks to your efforts, and sacrifice of free time, I can now tell that strange idea with a far more convincing presentation.

Enjoy the film, I’ll see you in 2015. =)


Ben,

Feeding Conor – Da Da Da – Official Lyric Video: VidLog

For the past few weeks I’ve been working on a lyric music video for a band called Feeding Conor. During last year I designed many of the graphics for their Facebook page, their band page, and the album cover for Da Da Da.  But now it was time to create something that would really make people go “Wow.”

I had actually started this project awhile ago, but I made the mistake of trying to make the entire thing in After Effects. It was incredibly time-consuming, the lyrics were practically impossible to align with the music and I used some effects that just ended up in really blurry, unprofessional looking, results. I had about 5 lines of the song laid out in After Effects, and it had taken forever to get that far. Unimpressed with the progress of the project I decided to start from scratch with a new approach. I’d learnt my mistake, After Effects was simply no good for timing out the lyrics, and I’d wasted a considerable amount of time figuring that out.

The first step in this process was to get all the timing for the words, this was the most boring part of the production, as I had to slowly scrub through the song bit by bit and manually time out the entire song word-by-word, slow, but faster than the way I was doing it before. I did the timing in Adobe Premiere as it was far easier to listen to the audio while I was moving things around, and that’s something that After Effects doesn’t do very well.

Next I imported the data into After Effects and started to structure the scene word-by-word (again), moving the fonts around etc. Once I’d finished all the lines of the song it was time to start designing the atmosphere. At first I had planned on having a bland grey and white gradient background with a little texture around the edges. I decided to fiddle around with the look a bit, I made the gradient dark, and added a basic fractal noise generator in the background as well.

After a bit of thinking I just made it 3D. In After Effects I added a (virtual) camera, set up the words in a 3D room, added a particle system followed by a 3D lens flare and some more minor particles faintly distinguishable in the background. At the beginning, some old footage I filmed of an electric guitar was also included… probably didn’t need to bother with that, but anyhow.

I rendered out two versions to start with, it took 1 and a half hours to render because of all the camera rotation and massive amount of particles, the first version was basically the final product, just minus a few extra animations. The second version was the same, except it had a constant flow of particles towards the right hand side of the video, the whole way through.

I rendered out a third, which removed the flowing particles and in turn gave more emphasis on the actual text, which was the objective of the video in the first place… Tis’ a lyric video after all. I also added a little bit of colour correction, added “Da Da Da” underneath the Feeding Conor logo at the start and tweaked some of the words a bit as I thought they needed adjusting.

FINALLY, I did a fourth render, I used the video from the third render, added the spacey images of the band members at the end along with a lightning effect and the final promotion stuff. The other thing to note about the fourth and final render is that I actually mixed it with the second render, which had the flowing stream of particles. I thought that the flowing stream of particles made the end part of the video look a lot more electrifying and bright . . . so meh.


You can watch the final video here:


Be sure to check out Feeding Conor’s Facebook page if you haven’t already.


Thanks for reading, I’m off to watch Leverage. (One of the best shows in the entire world)


Ben,

VidLog: Kortal Mombat Action Scene

For the finale episode of NeWs!, a comedic school news show displayed in a few of the assemblies in 2011, we had an epic action scene in the style of a console game beat-em-up. We actually started this probably 4-5 weeks before we actually started preparing the final episode of NeWs!, and it’s just as well too, because the amount of time that went into this video was more than a thousand sponges could even dream of soaking up, well if somehow, some nuclear experiment went wrong and gave sponges the ability to soak up time itself…

Nonetheless, this improvised video took shape the more we filmed it. The brilliant action/comedic mastermind of Ollie was the true inspiration for the video, as we filmed he would include extra ideas, “Yeah I so Alex you can like run at him, and he’ll step back and then you have to stagger towards him okay?” When we all had all seen the foam head in the drama room, Ollie instantly knew we could use it as part of a violent effect. So working it all out on the move, I decided whether or not the effects were possible or not, and then figured out a way we could do them. Alex and Alex, our fighting aliases, recorded a series of grunts, groans and Aaaahhgghs for the “game”, I guess the fact that these sounds repeated throughout the video really helped it feel like a video game, although . . . didn’t really at all.

Now just to give you an idea of how much this video was mashed with effects and colour, look at the above photo!

Every single scene of video had to be individually motion tracked, then the sky would be replaced, the video would then be “cartoonised” slightly, followed by multiple harsh colour correction layers, a few little textures were added along with the HUD, which was made in photoshop, AND finally in a few parts of the video, a dragon was also added flying in the sky. Not many people noticed the dragon… oh well, but it still helped add some atmosphere to the video.

Surprisingly the beginning bit with the menu was made before the rest of the video, my reason for doing so is because that was the fun part.

Some other things that were added into the video, although it probably wasn’t worth adding them in, was a few castles at the beginning. In the video world this method of adding things into the background is called set extension, but it’s also known as matte painting. It’s where you merge a photo or video into one to make a new structure, landscape, etc. This method is used A LOT in shows like Merlin, Terra Nova, Doctor Who . . . But particularly Merlin.

The images I used for this are in Public Domain, this means they are Royalty Free, or in more simpler terms, I can use them for anything I want, commercial or otherwise, without having to worry about people suing my arse into a thousand pieces. Because I quite like my arse in one piece.

Normally if you’re getting Royalty Free images it will cost you, thankfully I found this great site: http://www.public-domain-image.com/ which has a wide variety of photos, free for use in anything. There’s also another large collection of stock photos at PacHD.com

“Ben, what about the awesome throwing effects?”

I noticed that everyone started cheering when Ollie tossed the first Kortal Mombat fighter into the air, so they evident ally thought it looked cool. So the question is, how did Ollie throw Alex that far into the sky?

Well it turns out, we didn’t throw nobody. The benefit of this kind of effect, is that it’s over pretty quickly, plus, because of the fast movement you can use a lot of blurring to hide your video editing tricks. As you can see in the image above, the shadow of Alex looks considerably dodgy, but because this shadow is only visible for about a second, it doesn’t really matter that much. All eyes are being drawn to the guy getting picked up. But that again is another trick.

I used a still frame of Alex lying down with his leg up and key framed (edited frame-by-frame in the video) the picture so that it followed Ollie’s clenched hands as he pretended to throw someone. Speed the action up enough, and hey presto! In fact, every punch, kick and swing in this video were sped up to make them look more violent, a technique also used in many action videos, a technique which I picked up by watching Freddiew‘s YouTube video “Whose gun is it anyway?

I bet you feel ripped off now! When Ollie ended the video with a dramatic head-kicking, it turns out that it was all a big rouse. As you can see in the image above, it’s that foam head I mentioned earlier in the post. Okay, so Ollie kicked a foam head instead of Alex’s REAL head, but what about his body? It’s clearly visible behind the head . . . and it is missing a head!

I’ll tell you now that we didn’t get a life-size replica of Alex and lay it on the ground with the fake head. We did something a lot more computery. (I make up words, get use to it.)

I got Alex to lay on the ground for a little bit so that I could get a single frame of JUST him. Then we got him out of the shot, making sure that the foam head was placed EXACTLY where his head was, (Though as it turns out, that didn’t really need to happen.) then Ollie kicked the foam head out of shot.

The still frame above of Alex lying there was motion tracked ONTO the grass, then with a little bit of rotoscoping and editing the effect of his head being kicked off was produced. Thankfully it was another one of those fast startling effects that allows you to be a little bit sloppy, you’ll notice in the image of the foam head the masking I did to add the still image of Alex in wasn’t perfect, because it didn’t need to be.

Well, hope you enjoyed this VIDLOG, another little insight into how much I really need to get a life.

I find it interesting that I wrote this VidLog on the 29th of December, when the first VidLog I wrote on the 29th of November… oh drat, actually not anymore, because it’s just gone 12:05 AM . . . that just screwed up my endnote. Anyways until the next VIDLOG…


Ben,

VidLog: The Future Of Cheating

Welcome to my first VidLog! To be honest I just kinda made up the word VidLog . . . probably someone else out there already using it, but nonetheless. I’ve decided it’s in both mine and this site’s interest that I actually write about the videos I produce, it’s more interesting to you, more interesting to me so everybody’s happy.

This is one of the videos that I filmed last holiday when I went to Tasmazia. Although the video didn’t exactly turn out as I’d imagined it, it’s still pretty neat and gave me some practice for effects I’ll probably do later on. I won’t give you a run down of the story line, basically because at 1 minute it’s really not a long twisty-curvy blockbuster.

Watch “The Future of Cheating” here:

http://www.youtube.com/watch?v=ipKGO0VrcbA

Okay now onto the basic stuff about it!

The Process

I first had the idea of a maze-y video when my family informed my of a holiday trip we’d be going on in the school holidays, Tasmazia, a large activity maze in Tasmania’s northern half. I had the idea of the maze retracting to the sides, the maze ripping apart to form a passageway . . .

As it happens, the film making process results in many of your ideas going down the toilet. What you imagine and what you end up filming and editing are two entirely different things. This video didn’t turn out as good, nor as visual as I’d hoped. For example, instead of having the maze rip apart to form a doorway I went for the cheap easy option of just blinding the viewer with so much white light that it covers up the fact there’s no real decent vfx.

Nonetheless. Unless you work with Adobe After Effects the rest may seem a bit bizarre, I would explain it further, but meh.

The first thing I did was import all of the footage I’d filmed while I was on holiday and cut it all up in my video editor to set the basic idea of what I wanted, I could always adjust it later if I wanted to remove bits. The next step was to colour correct the footage to add more depth and really set the feel of the film, as you can see in the image below, it really changes the look of things from that home-filmed cam video into that defined movie-look.

Here’s another example of how much the colour correction can make a bland dull video into a sharp characterized image, just the amount of colour in the leaves and floor gives the video more life. After the colour correction I moved onto the effects, the bright light was just a shape with a feathered mask, and a blend mode of add. Then I added a few distortion effects in an adjustment layer so that the whole video reacted more to the supposed cheat.

I also added various elements to enrich the video further, these include smoke elements, dust and debris to make maze look like it’s misty, also to add more life to the massive gateway being formed within the maze.

Next I set to work on the futuristic holographic display. Above is an image of the first version, a real simple interface, which I actually prefer to the one I ended up adding to the video. On my iPod Touch I quickly opened up a drawing program and on a black canvas, drew 3 white dots that I could use for tracking. I really only needed two in the end, but I’ll now know that for future reference. The reason I drew the tracking points on my screen is so that I could track both the rotation and the scale of the iPod as I held it in my shake hand.

After applying the tracking data to a null layer, I created several 3D objects, and using the null layer I’d just created, made these objects stick to the iPod effortlessly. Then I just needed to animate them by turning on motion blur and also by setting the opacity to “Wiggle.”

I just had a major deja vu moment while writing this. . . . whoaoaoaoah!

So after all that I just fixed minor problems and started adding the sound.

I recorded the computer’s voice myself, using a freeware program called Audacity. Using a combination of equalization and high-pass filters you can make a radio-electronic sound. But apart from that I made sure that anything I said twice sounded exactly the same as last time.

Finally using a mix of free sounds from PacDV.com, along with those from my royalty free collection, I added swishes, beeps and ambience to the video.

So there we have it! Hope you enjoyed both the video and this VidLog, do subscribe to me on my YouTube channel or create an account on this website if you enjoy this content!

See you next time,

Ben.