Please comment and tell me what you think of my photos.
Please comment and tell me what you think of my photos.
Please comment.
![]()
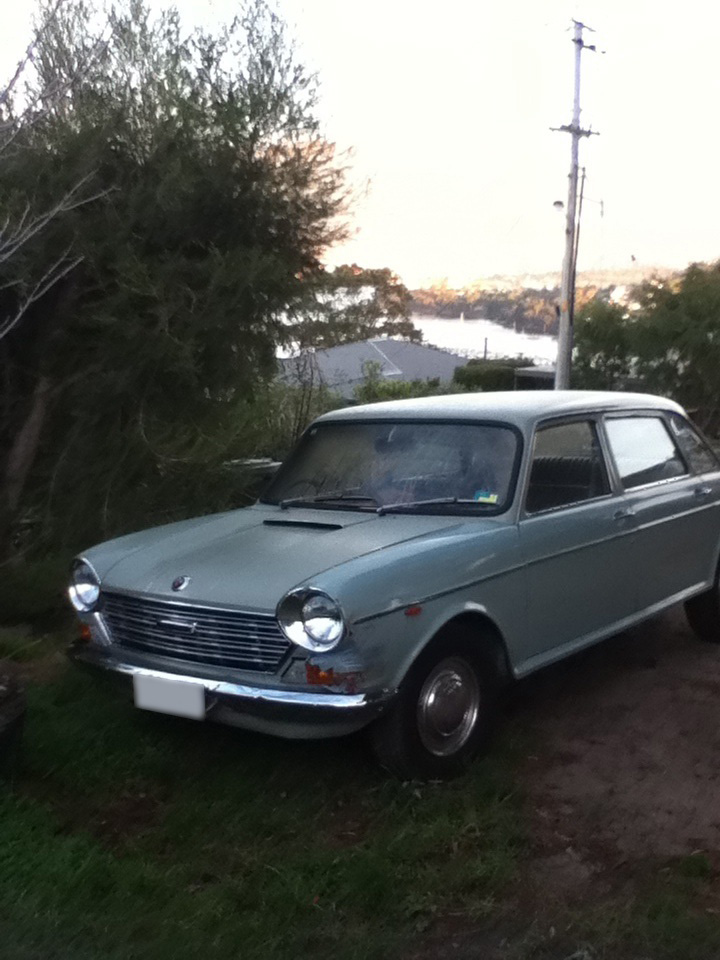
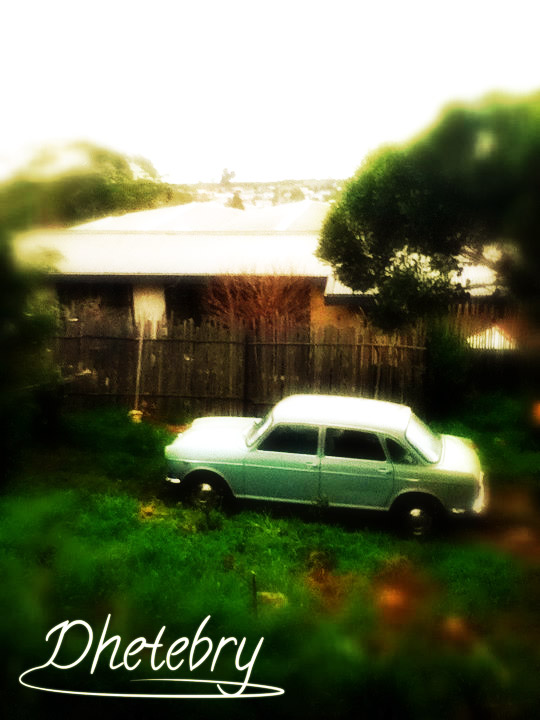
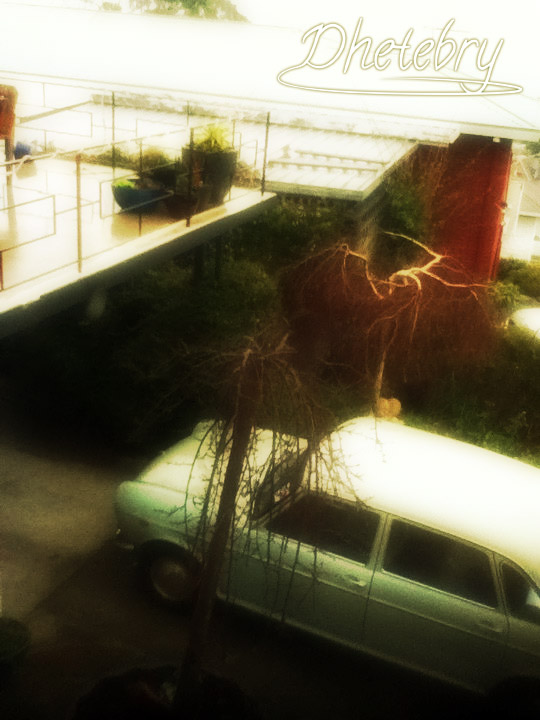
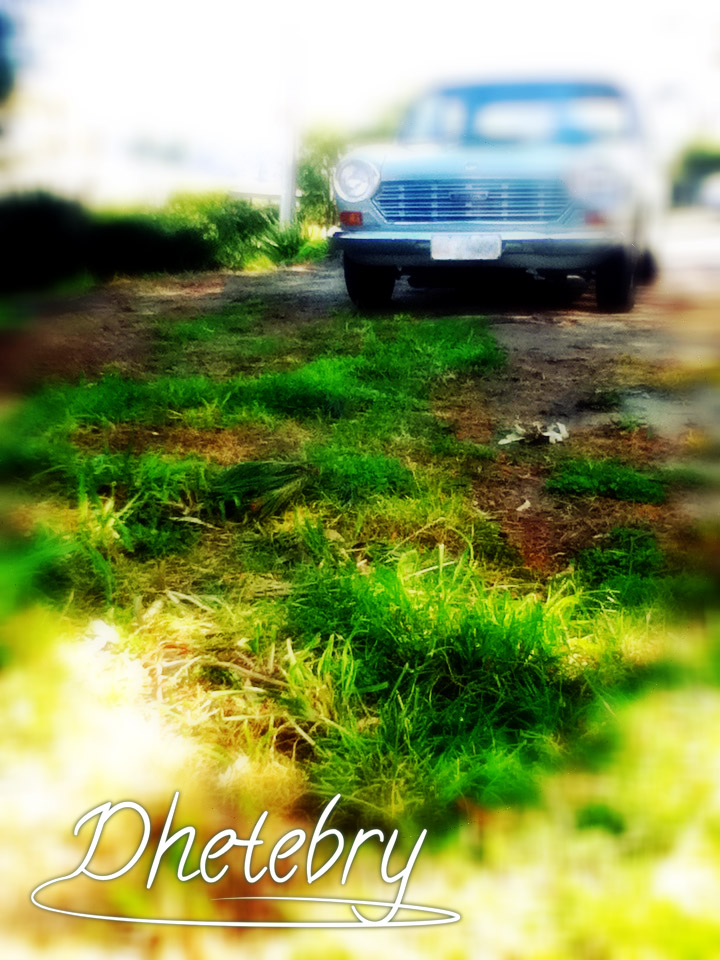
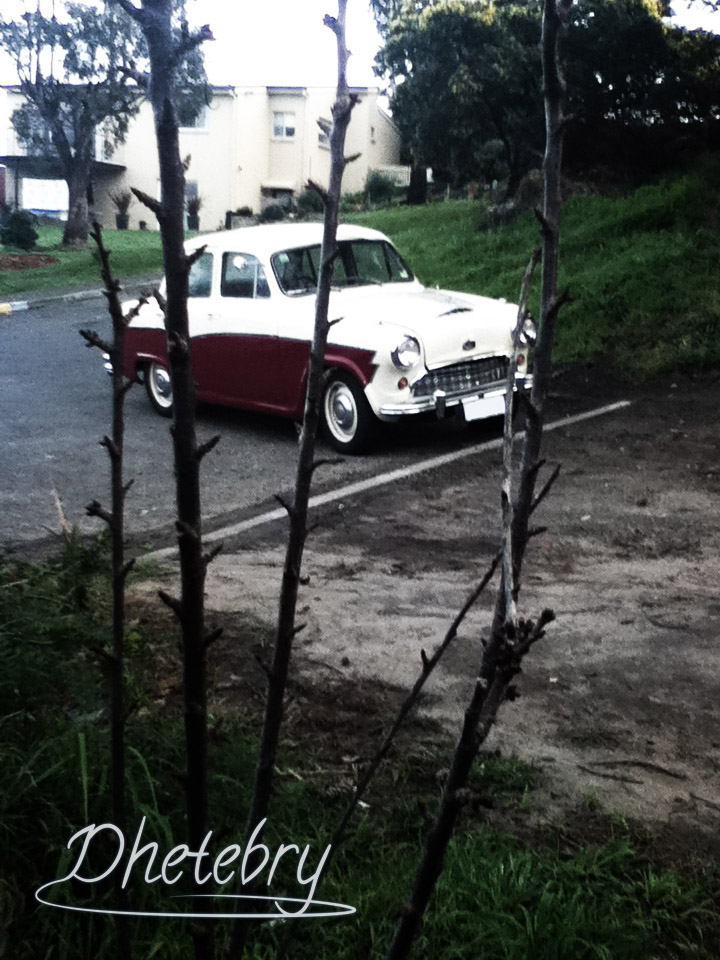
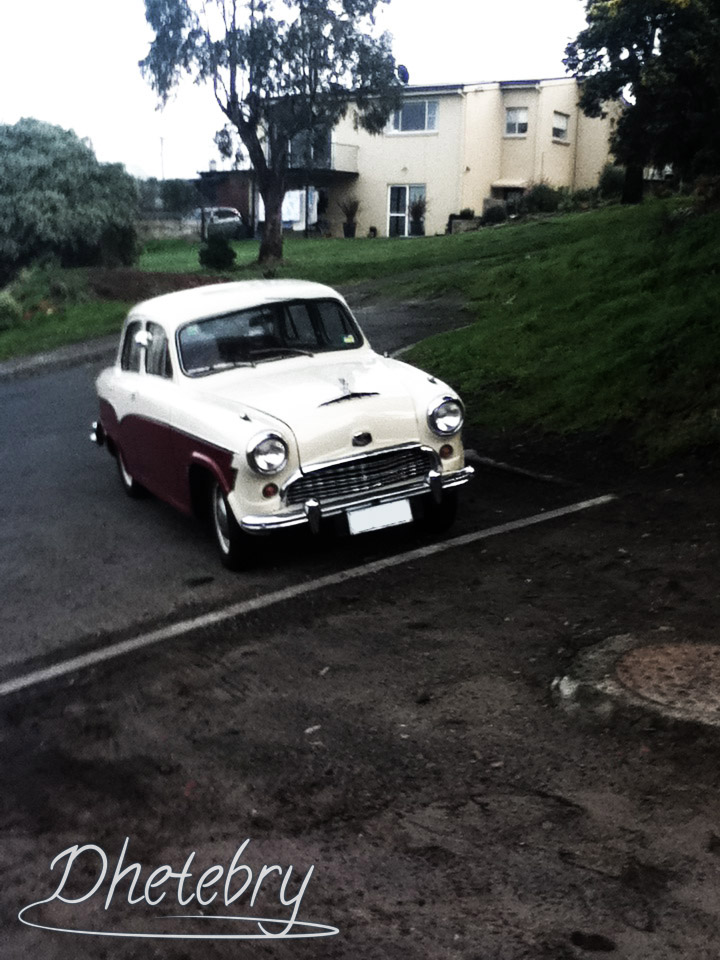
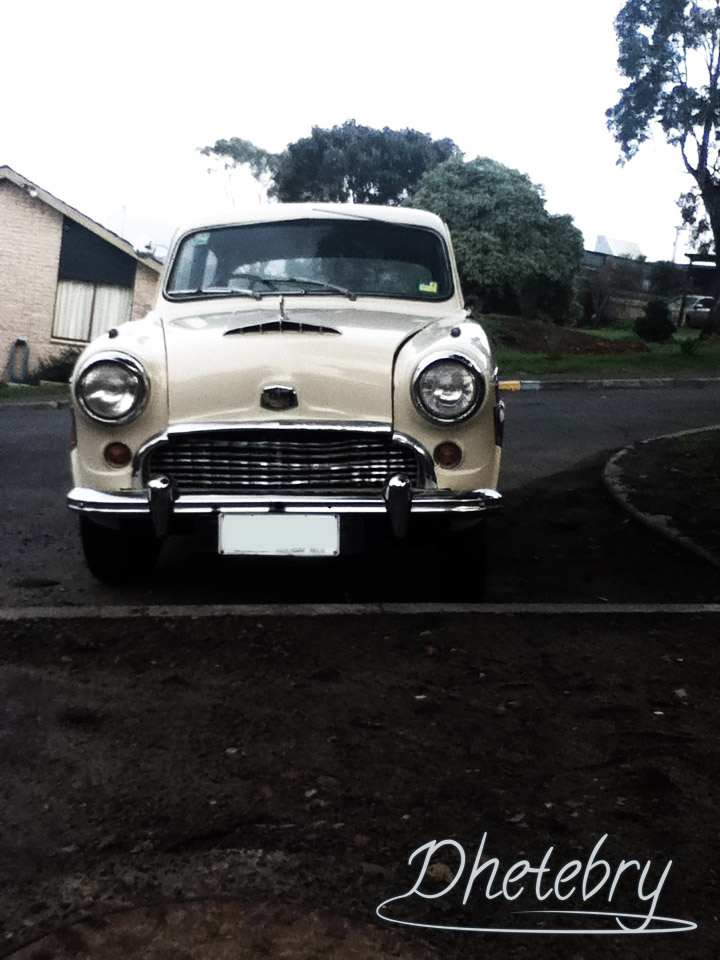
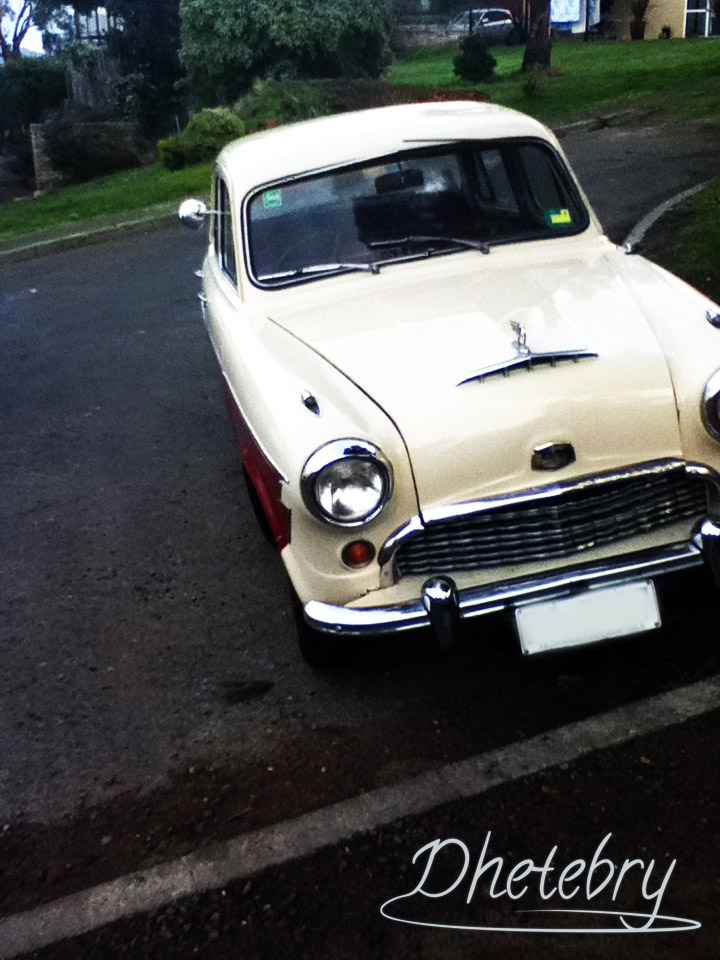
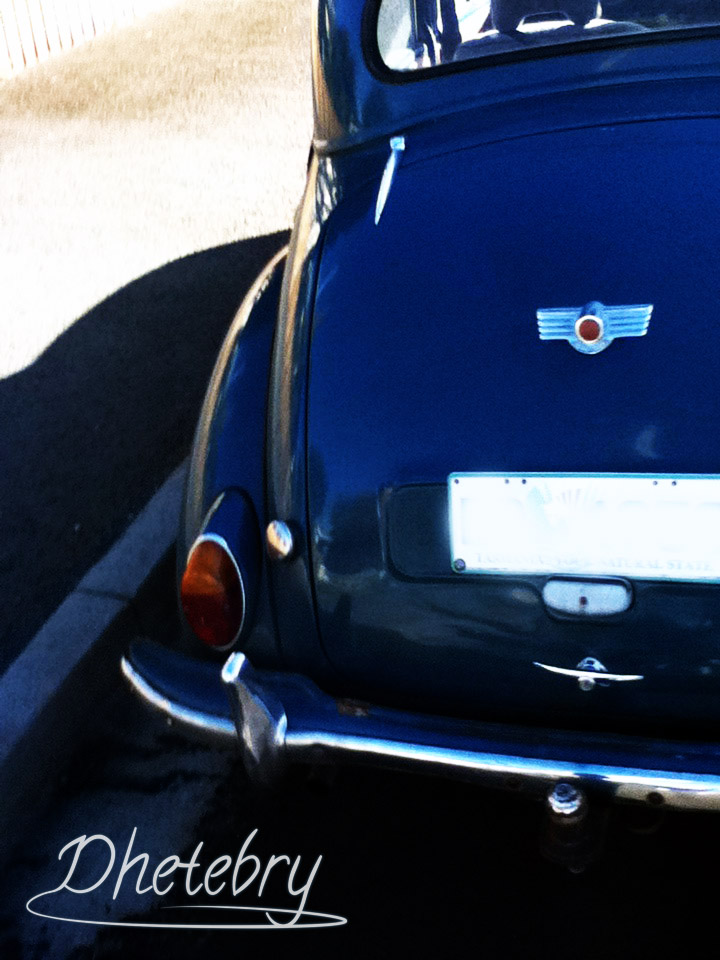
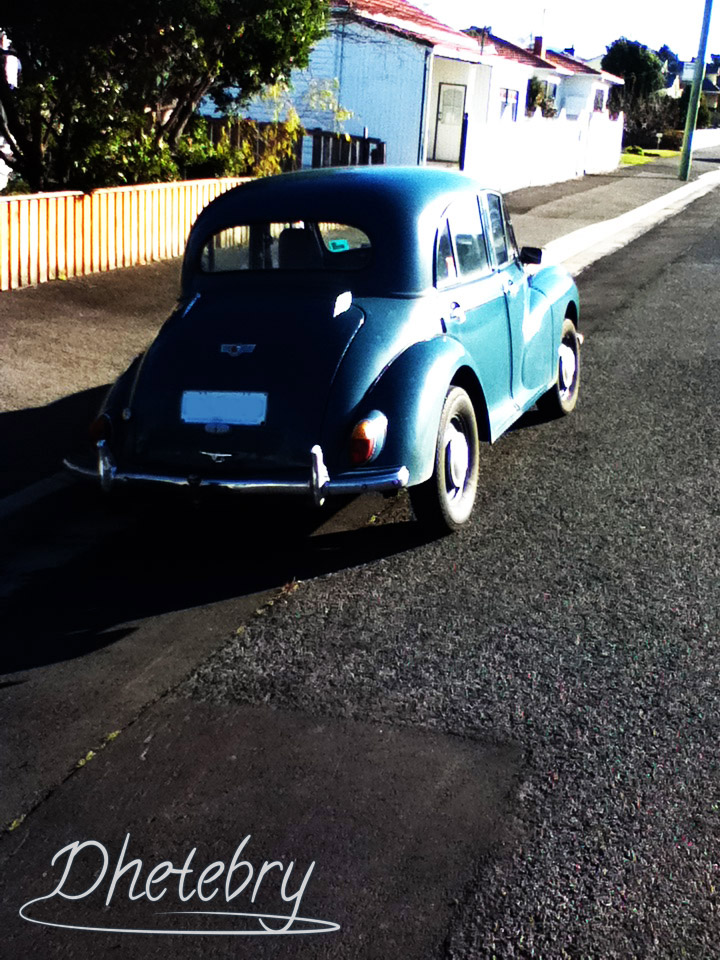
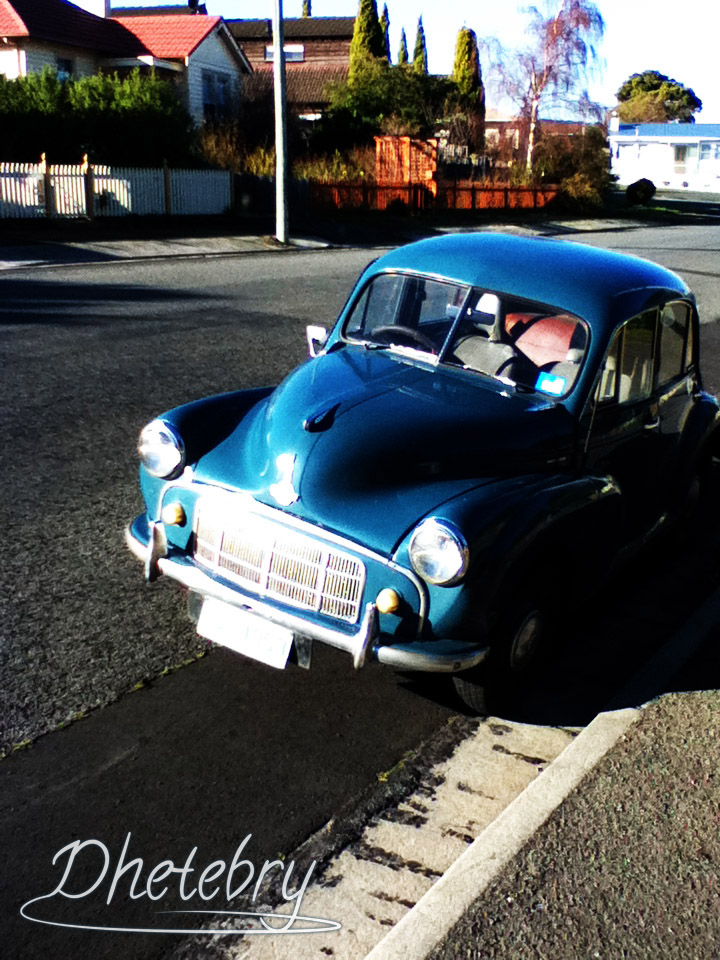
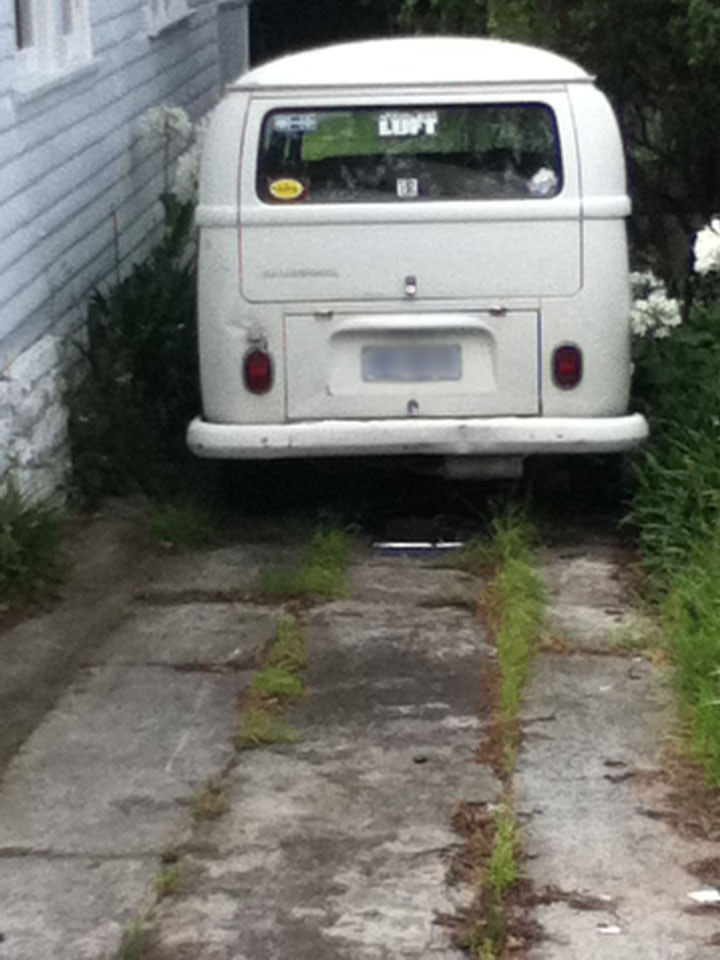
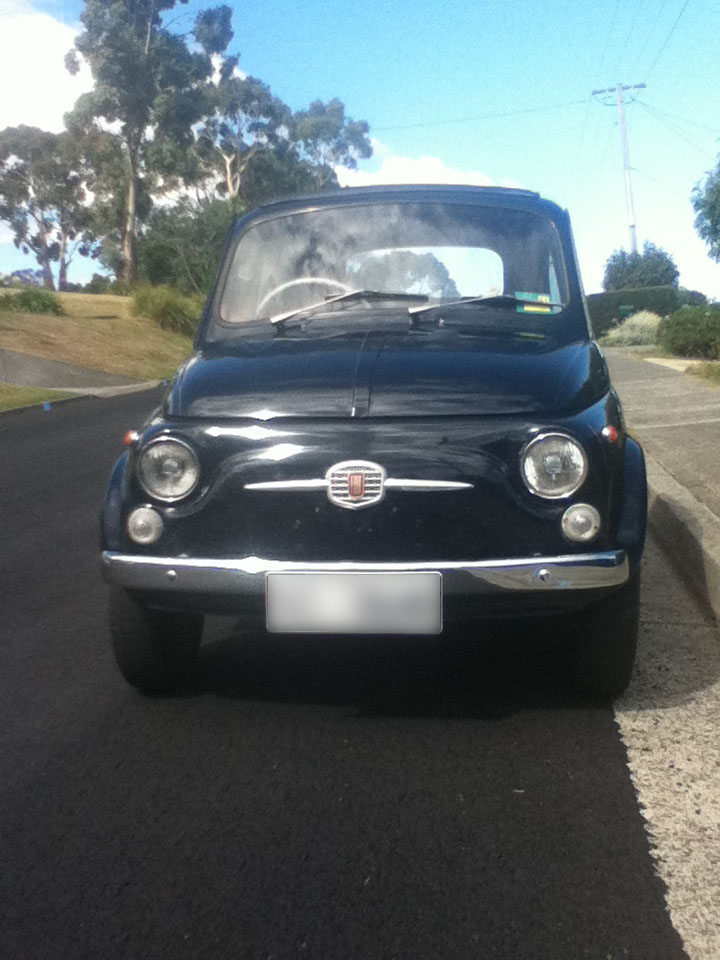
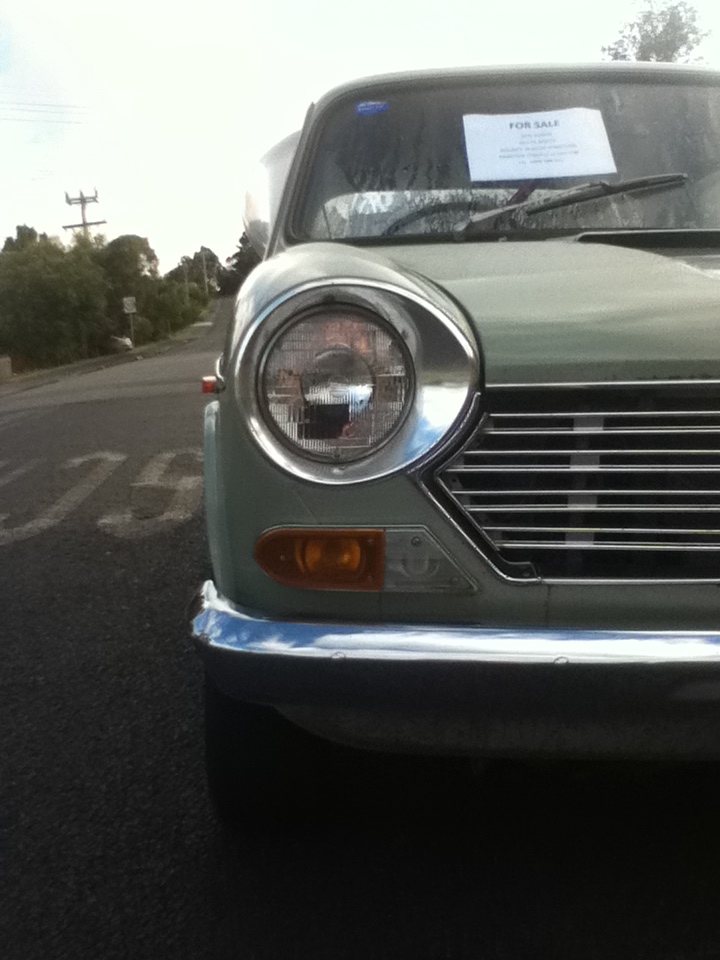
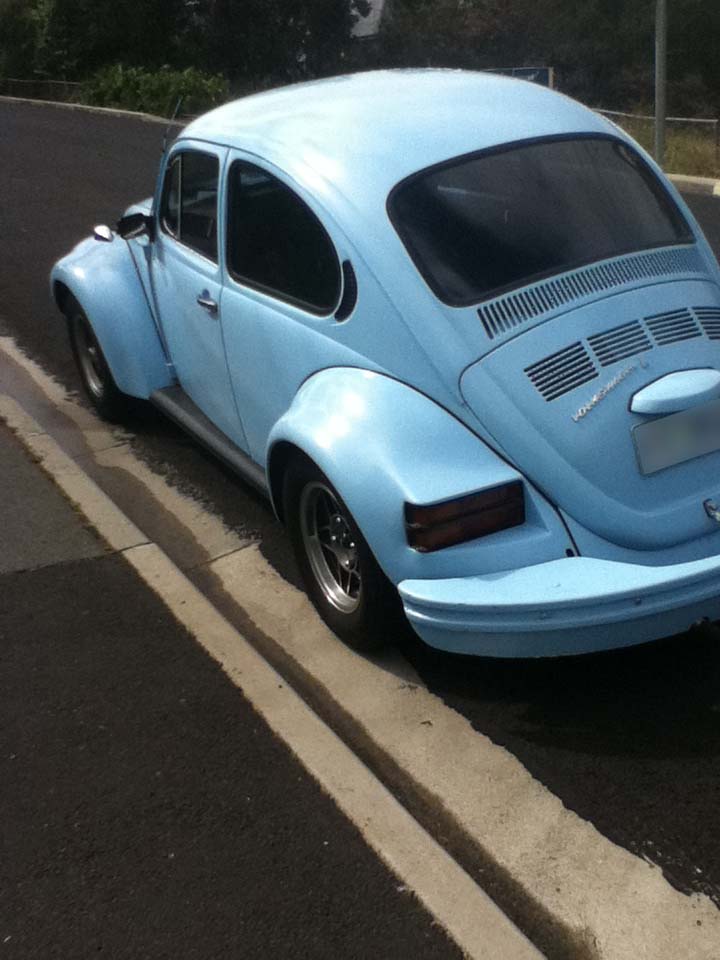
Howdy, heres some more of my photos,Please give me some feedback, Damo
Howdy, heres some of my photos 🙂 Please give me some feedback, Damo
![]()
Well, very weird, but interesting non-the-less.
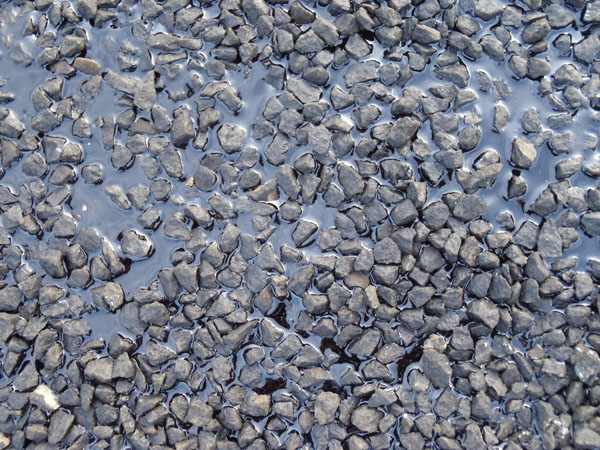
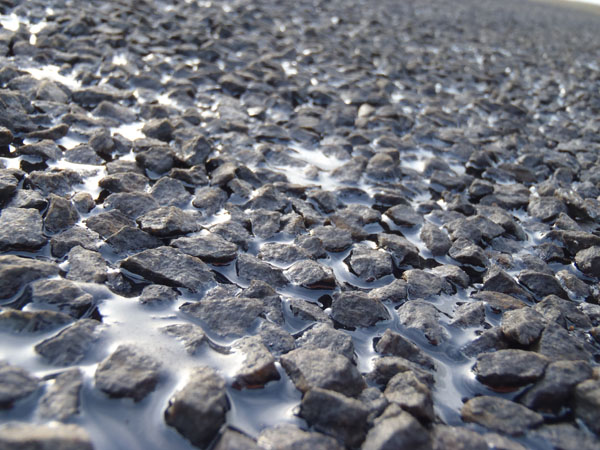
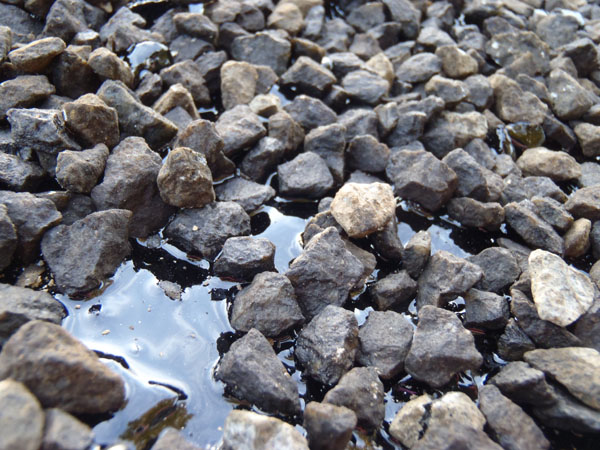
I don’t know if you’ve noticed, but when the roads workers ‘fix’ a road, by covering it with a really thick sticky black liquid then sprinkling thousands of dangerously sharp fast-travelling gravel bits onto it like the 100’s and 1000’s on the top of a children’s pink fairy cupcake . . . it can tend to be a bit annoying . . .
Is it not just me? Or does that sound like the lazy attempt at fixing something, slap on a layer of sticky stuff with some gravel on top then it’s done . . . it’s only a road after all, and of course no one ever walks along this road, so it’s perfectly okay if the ground is covered in small sharp rocks which soon become fast-flying projectiles thanks to the motor vehicles that travel along it. No, but okay, I do understand that there’s a lot going on in the council chambers, lots of decisions and money to be arranged, especially lots of stupid roads built right through people’s property just because they ‘think’ it will increase the fluency of traffic travelling through certain areas. *cough* Kingston Bypass *cough*
Nah, so the gravel covered road didn’t bug me as much as it sounds like, I’m just using it as an interesting opener.
What I really found interesting is the prioritising the council folk seem to have planned out. There are electoral signs (“Vote Now!”) that get replaced the day after they are vandalized and yet we have road signs bent, roads cracked and distorted and speed limit signs on either side of the road giving two different values. [I’m not kidding, a one sign on either side of the road, one says 80 the other says 60″]
Isn’t it interesting that the political signs come first, then the road, then the signs . . . bizarre.
But the one thing that made my walk home interesting, is the gravel . . . well, apart from it flinging up into my face every time a car passed by. That sticky black stuff they cover in gravel looks like a liquid, it looks as though if you were to dip your finger into it I’d stick in so much you’d be lucky to see it again. Yet when you touch this sticky black stuff you find that it’s solid . . . and I find that a rather weird illusion.
The anomaly produced some pretty spiffy photographs too.
Well, catch you later folks!
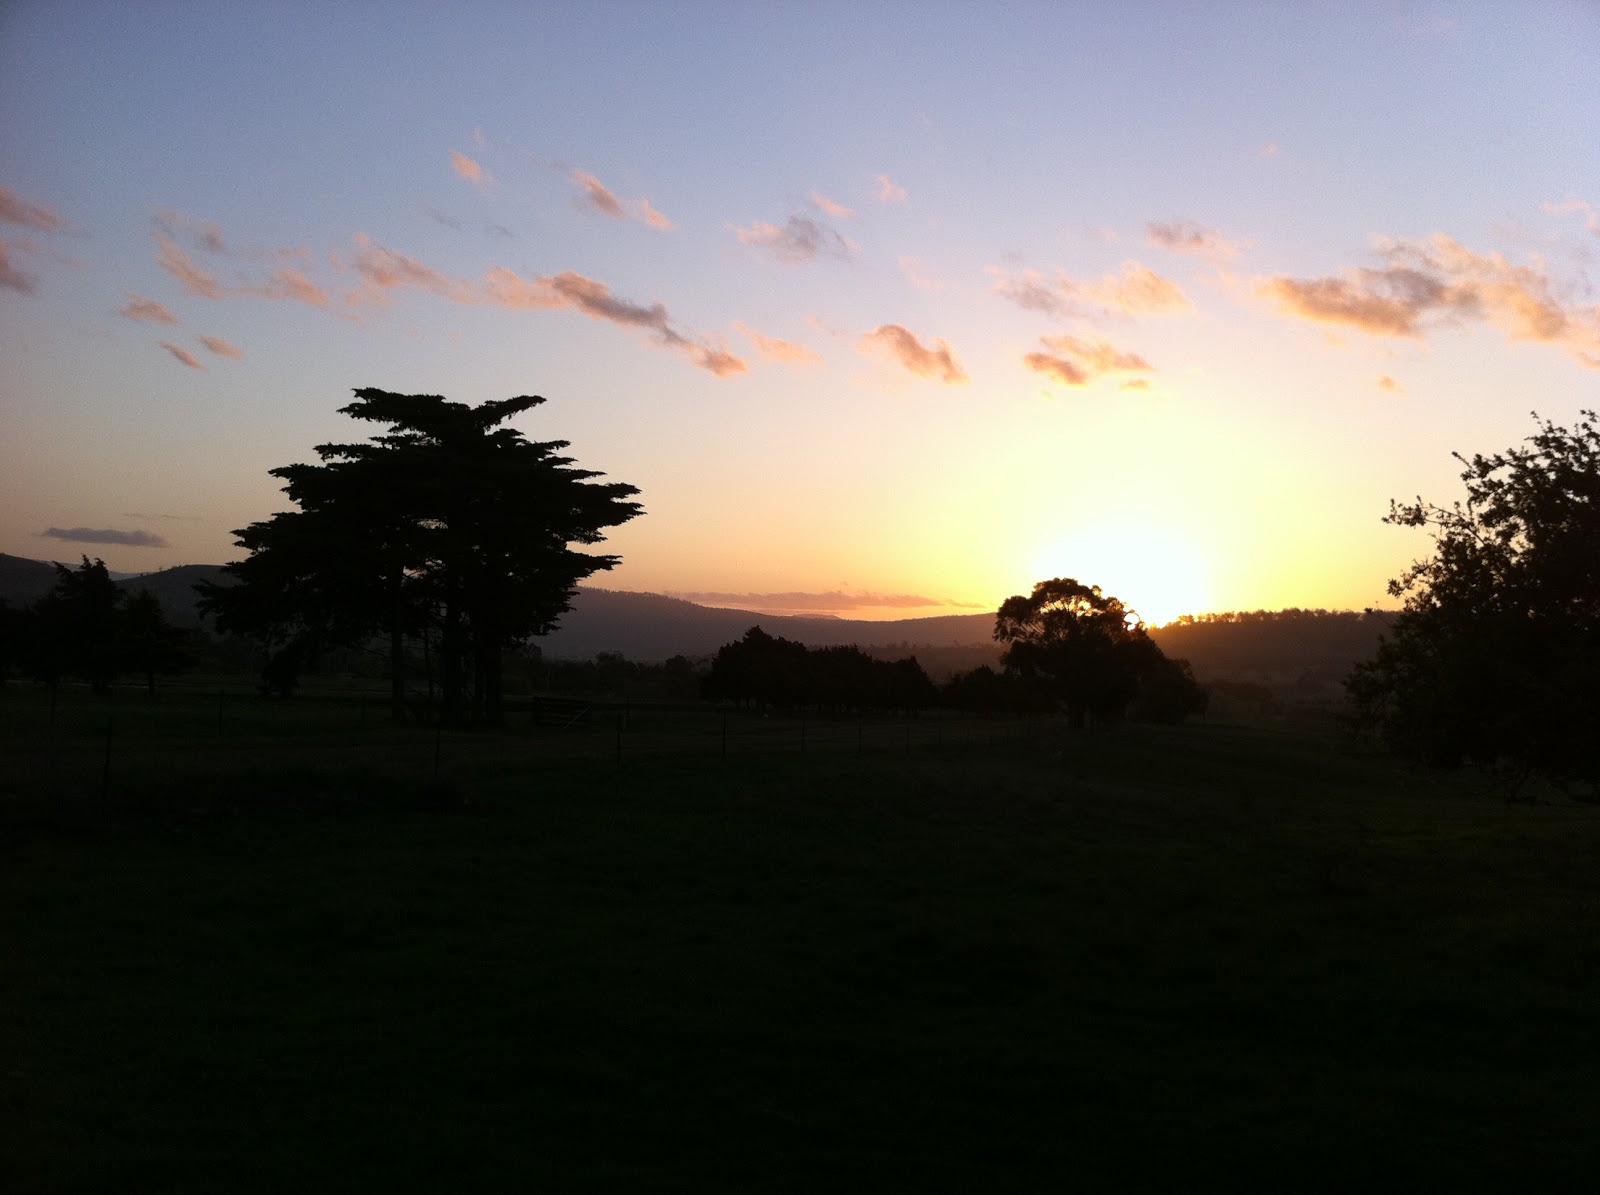
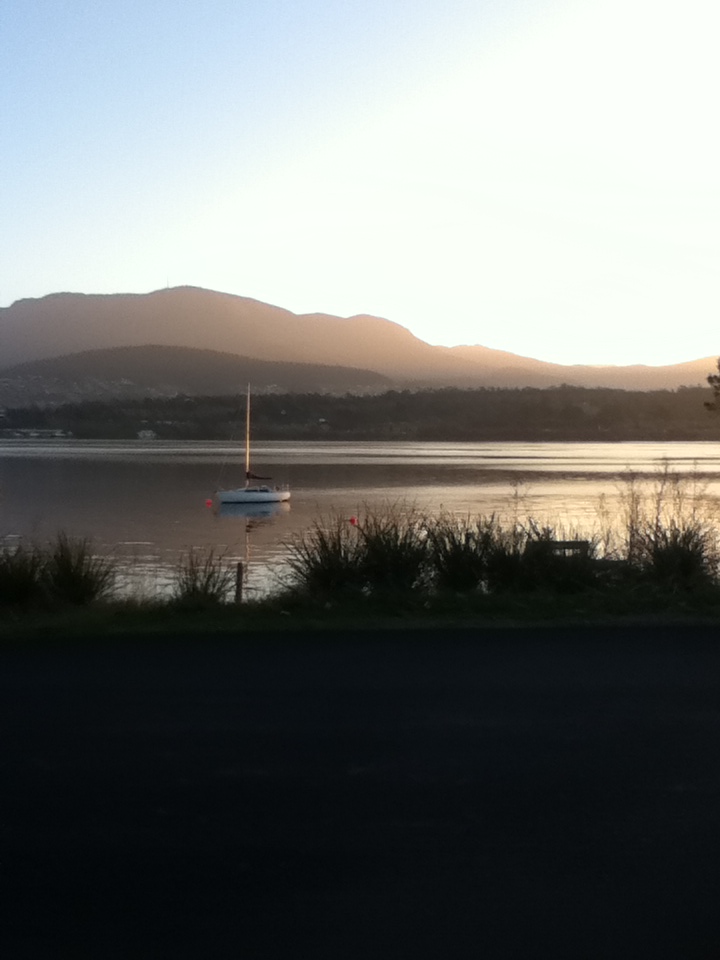
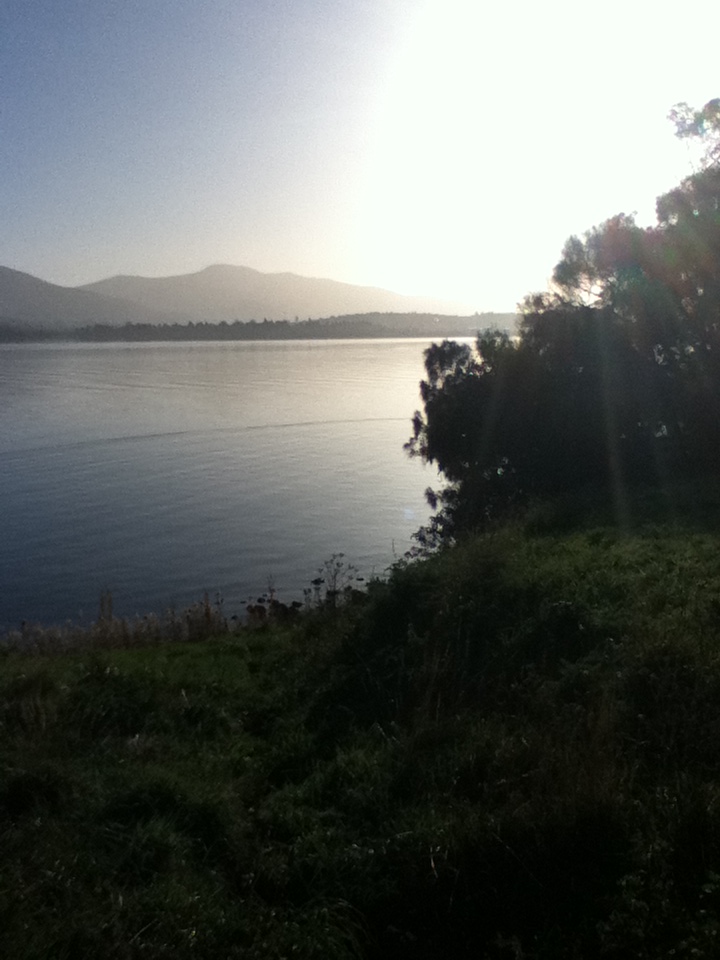
Taking a picture of a sunset can be frustrating, the picture never looks how the real sunset does, it’s just inevitable.
Because part of the sunsets appearance is the atmosphere around you, not just what you see.
There are cameras these days that offer ‘Sunset Modes’ and different lighting modes for taking pictures of the sun as it hides behind the horizon, this picture to the left however I took with a standard 5 Mega Pixel HDR Camera.
In my mind, with a sunset picture, even though you don’t get what you see, you get a nice effect that still looks good, even though it is less than half as good as its predecessor.
Sunset pictures, I find, can bring an interesting effect when taken so that the landscape and trees are silhouette, or black.
Almost like the image above, except you can see the grass, if the grass were darker and not that light, the silhouette effect would definitely be at play.
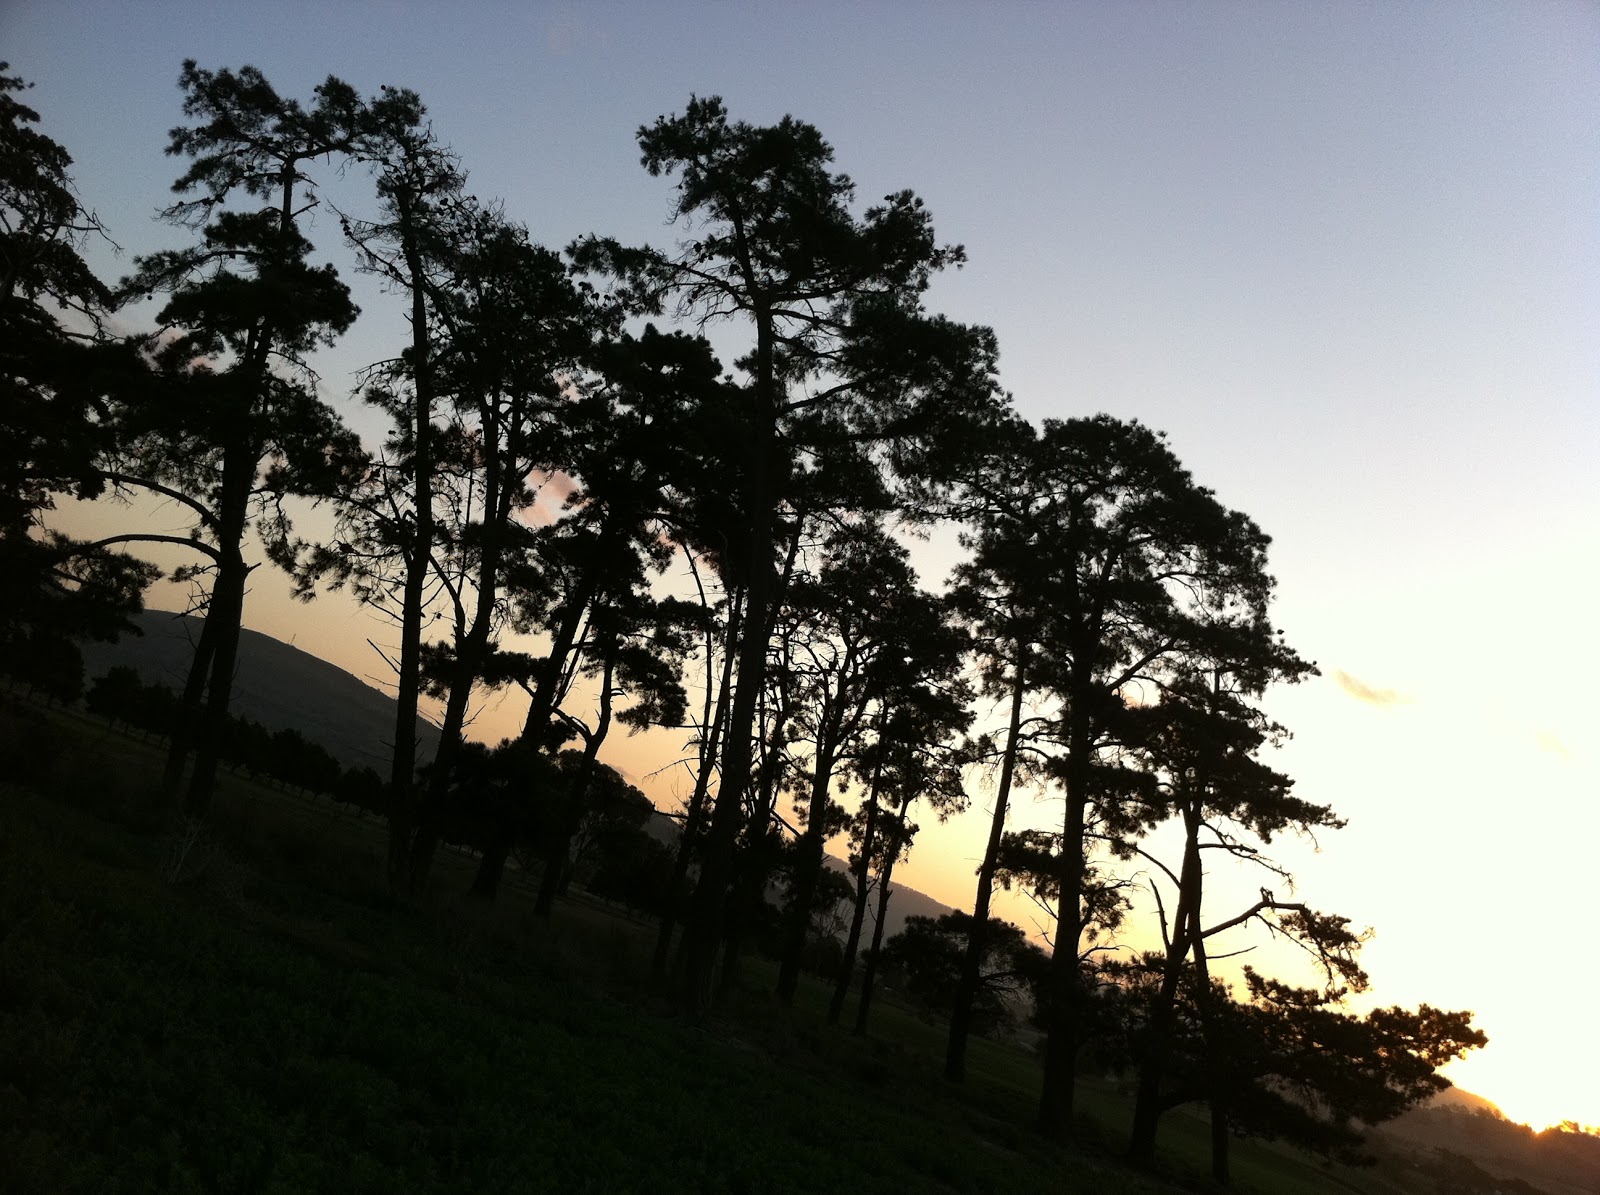
I took a few pictures to demonstrate the effectiveness lighting, of the angle, and where you take the photo.
All these sunset pictures, including the first one, were all taken within a few minutes of each other, on the same day.
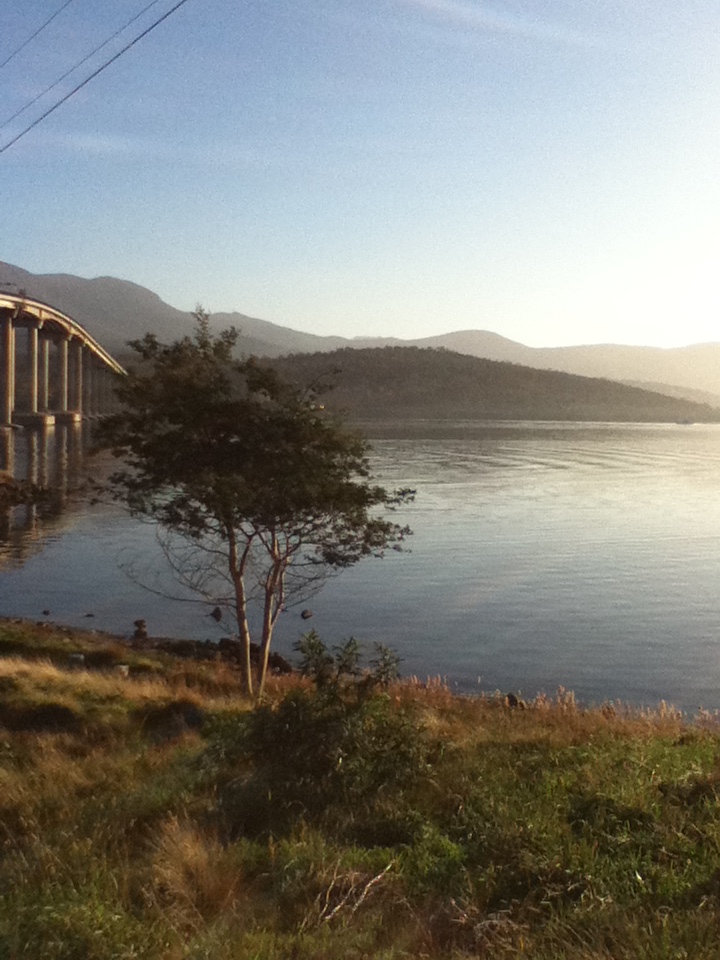
To the right we see a picture which is angled slightly so that the landscape is diagonal, the picture is also slightly blurry due to the light reflecting across the camera and interfering with the capture. The picture doesn’t look very good, does it?
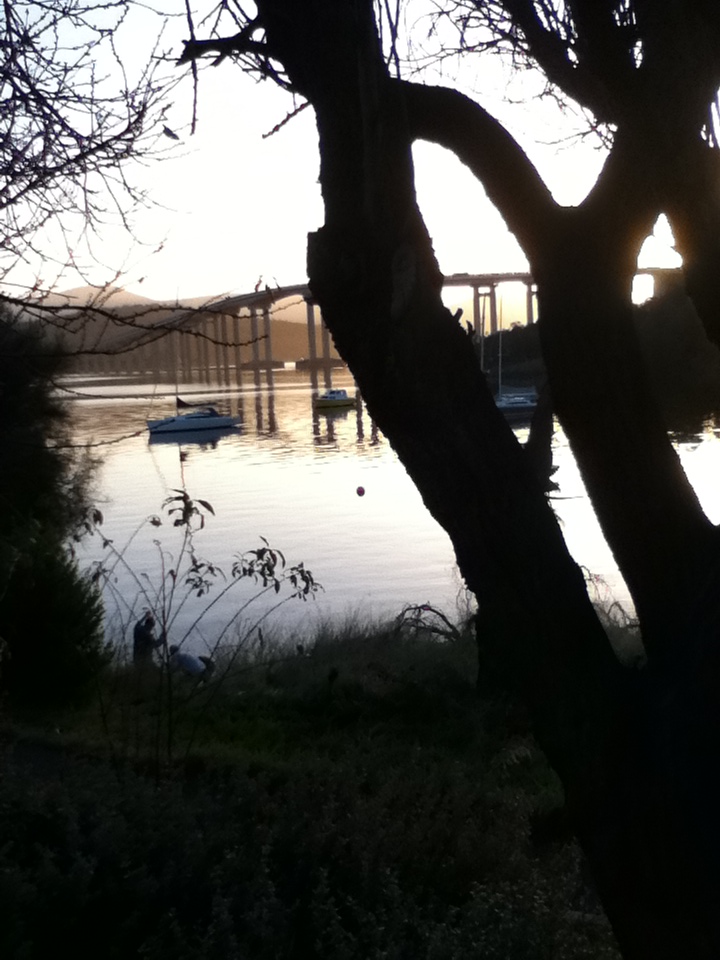
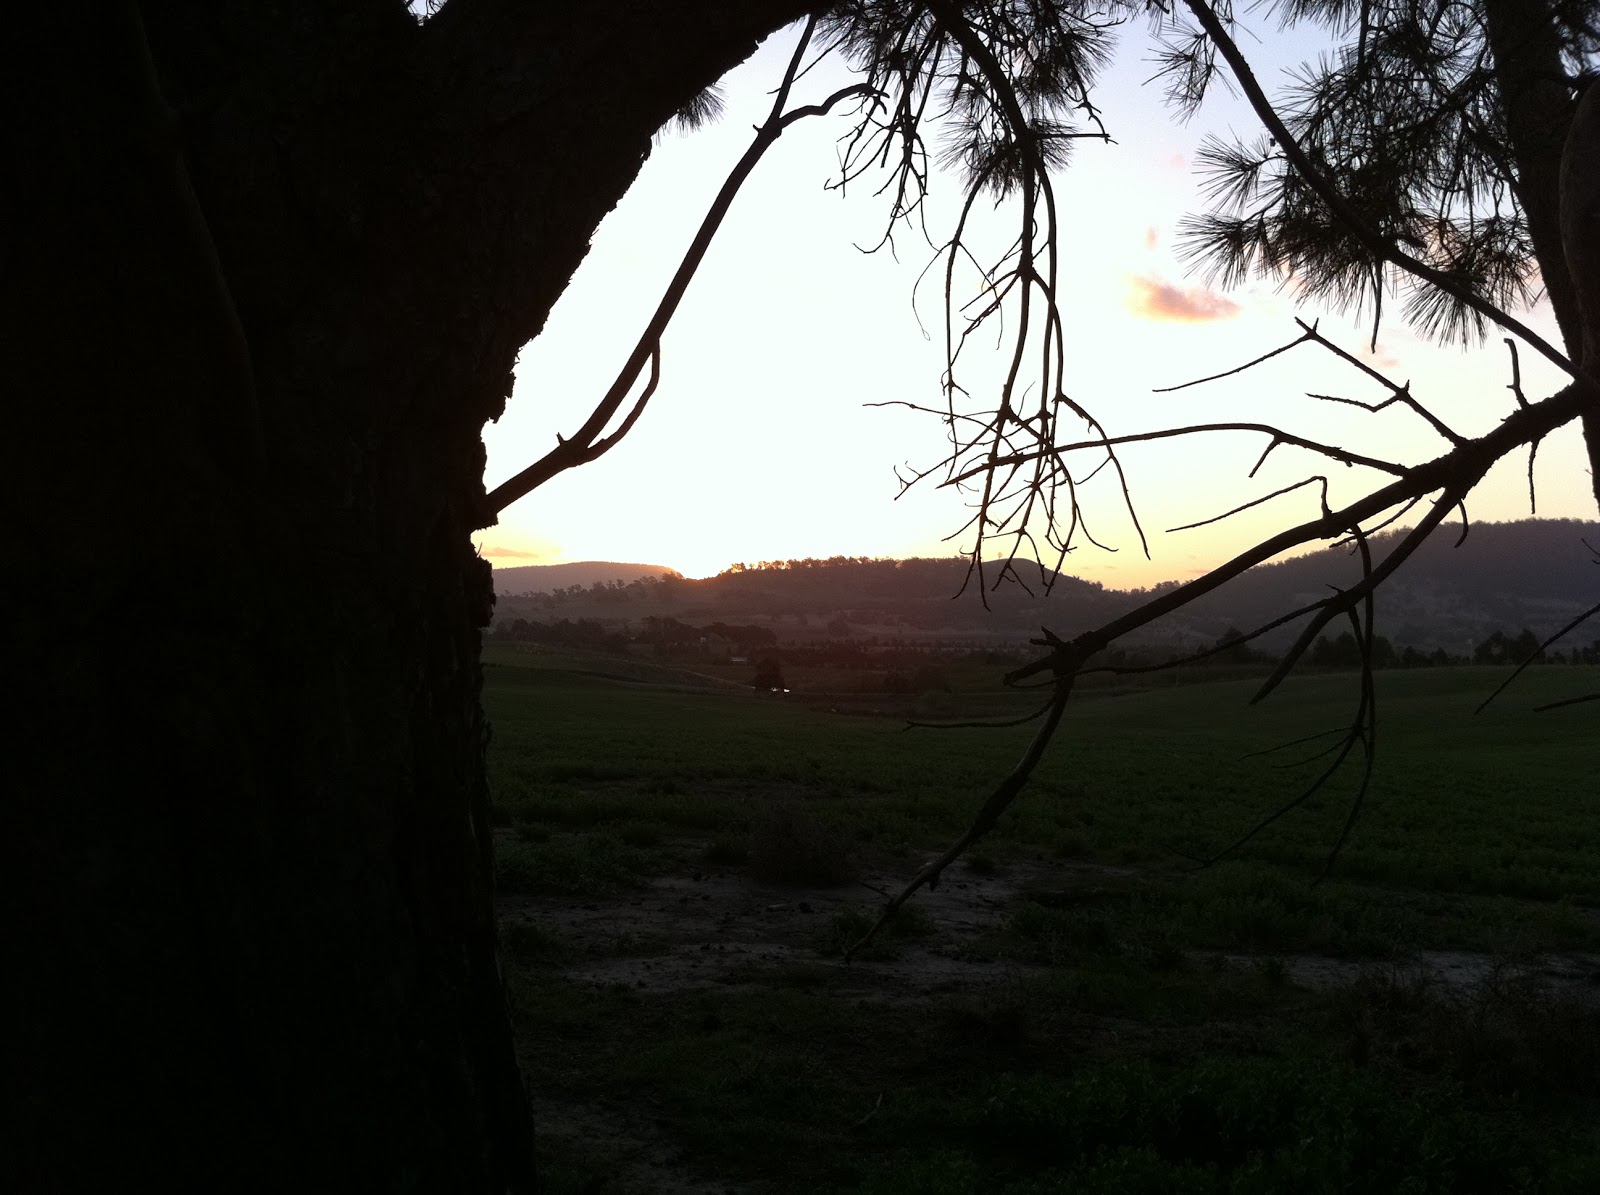 The picture to the left is from behind some trees, as you can see the picture is good, but the colour of the sunset cannot be seen very well, it’s not absorbed very well, although the silhouette on the tree branches is a nice effect.
Now may also be the time for me to tell you that none of these pictures have received special treatment, meaning no photo shop or any touch ups, these are straight from the camera.
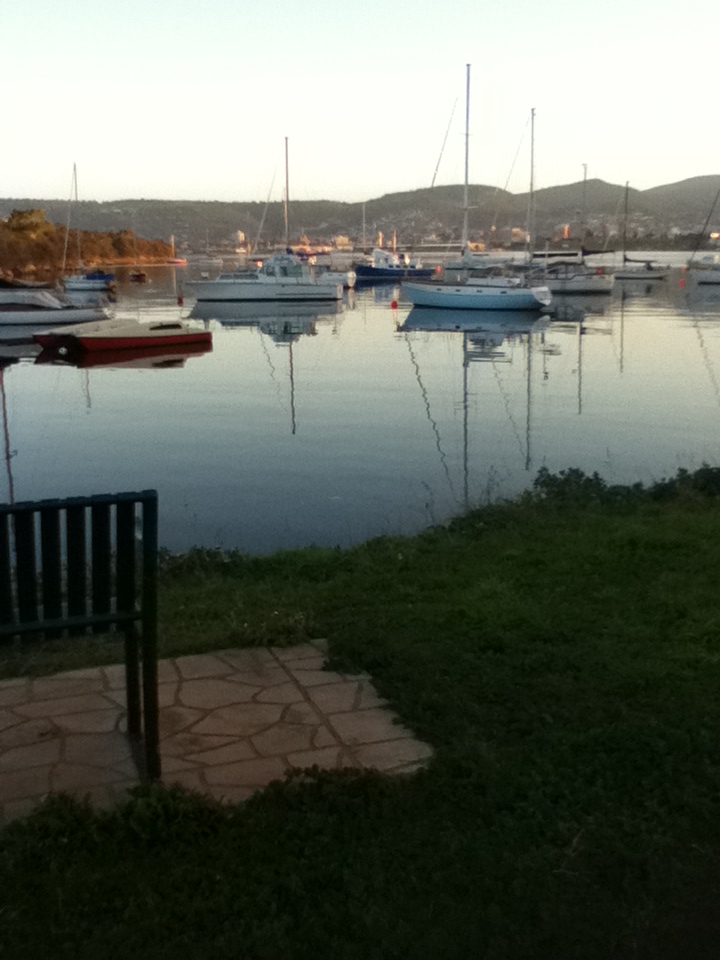
We have 3 photos,
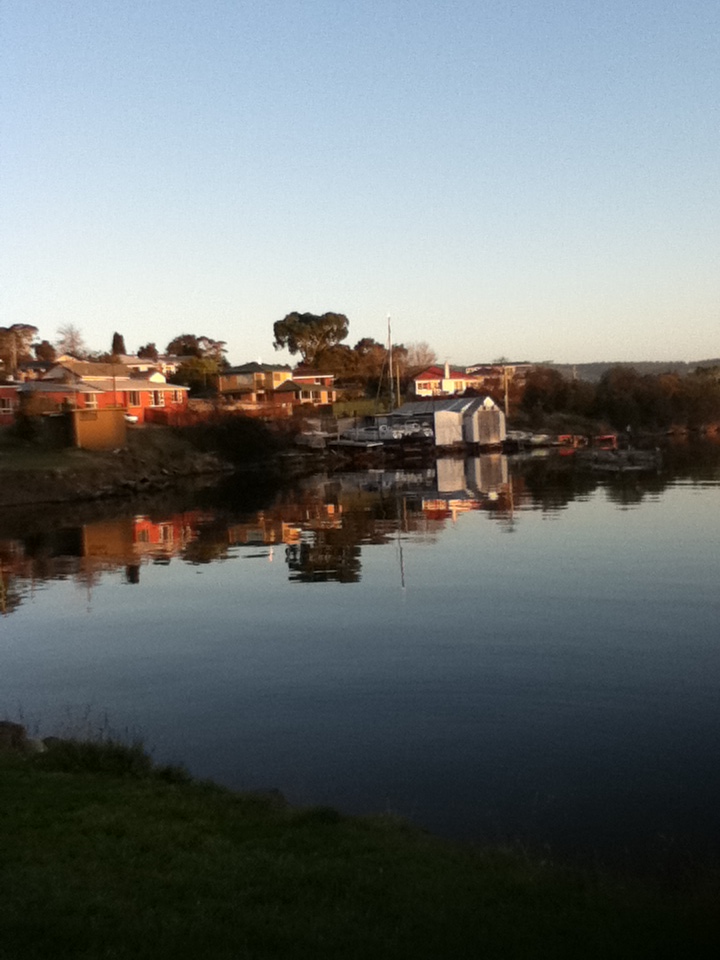
– The first was taken in an area with a shadow over it, with the horizon in the centre of the picture, sky across the top half of the picture, land across the bottom half, and the sun in the middle a little bit to the right.
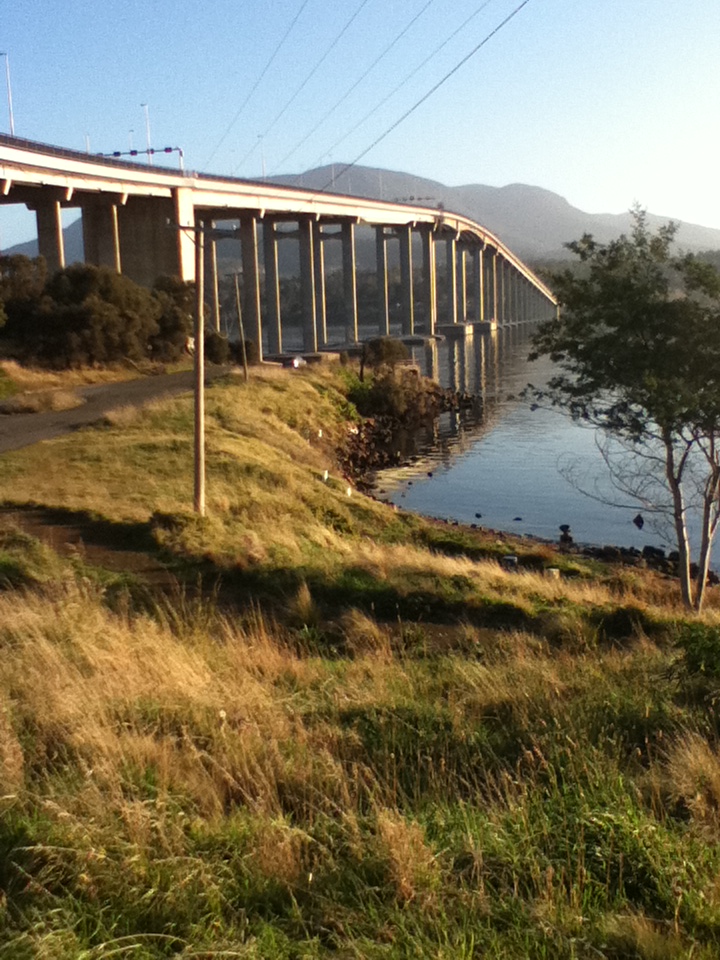
– The second picture was taken on an angle with the sun and the sunlight coming from the right of the picture.
– And the last picture was taken behind a tree, with the sun being behind the tree, but other than that the sky in the top half of the picture, and the land on the bottom half.

The other thing to note when taking sunset pictures, is that the picture WILL vary depending on:
-When you take the photo, if you take it near the end of the sunset, when the sun is barely in sight you’ll probably get a silhouette effect.
– Conditions, as you can see the photo to the left was taken with clouds in the sky, giving the clouds a light up colourful ’ember’ to them.
-General, in general every sunset is going to be different, they are often individual in terms of their appearance.
Well hope you read the different pointers and info listed in this post, the most important thing, is for you to look at the photos, and decide on what YOU think looks good, so wait until the next sunset, run outside and go snapping pictures, take more than you need to, try different effects and go through them and see what you think.
Until next time,
Benaball.
P.S. If you wish to use any of the photos in this post, please, please leave a note saying that they came from this blog, I’ve supplied this stuff with courtesy, please show courtesy in return.