Hey guys, in this post I’m going to talk to you about Artistic Photography,
Artistic Photography is where you take pictures of stuff at different angles, in different light, from different distances, with different colours, and you don’t have to take the picture so that you can tell what the item/thing is, but more, its more for the effect that the picture brings.
Today we are going to look at few simple ways of getting an artistic photo.
So here’s one of my photos, mind the small ad thing.
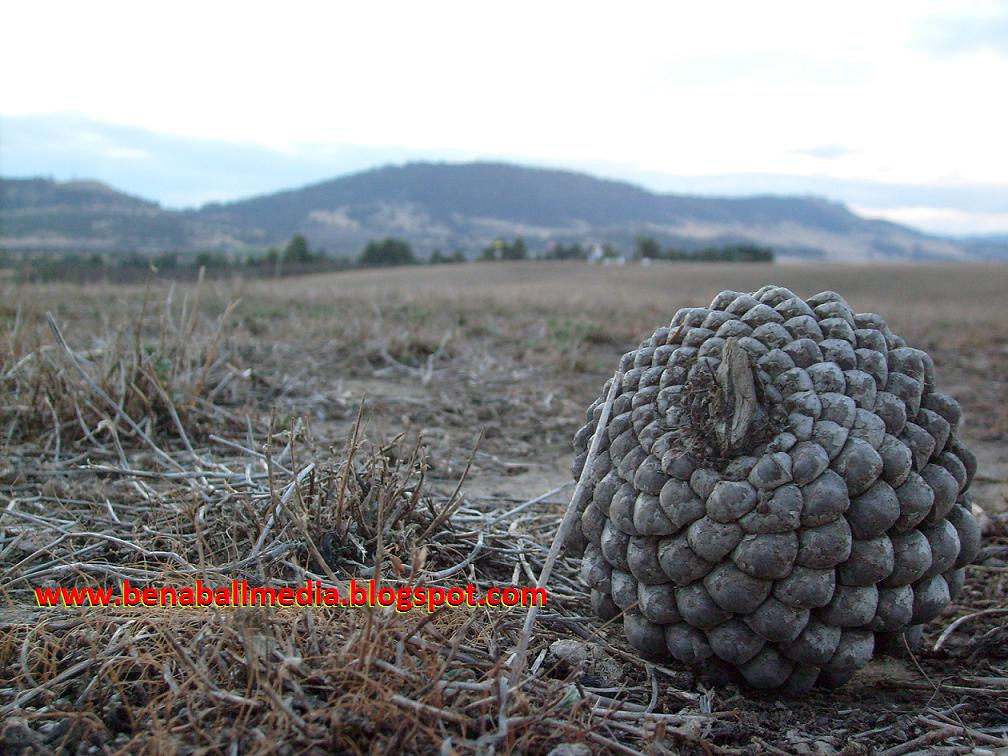
There are a few techniques at play here.
The first is that it’s being taken looking across the ground, instead of being taken from above in a birds eye view its been taken from directly behind the pine cone so that the view in the picture skims along the ground.
The second technique is the off centering, notice the pine cone isn’t placed dead-center in the middle of the picture, it’s placed to the side, not only does this give a nice view of the landscape behind it, basically if you want something to be focused on, stick it to the side of the photo.
_________________________________________________________________
Example Tip 1
Let’s take a picture using the same centering technique but without the close up or across the ground look.
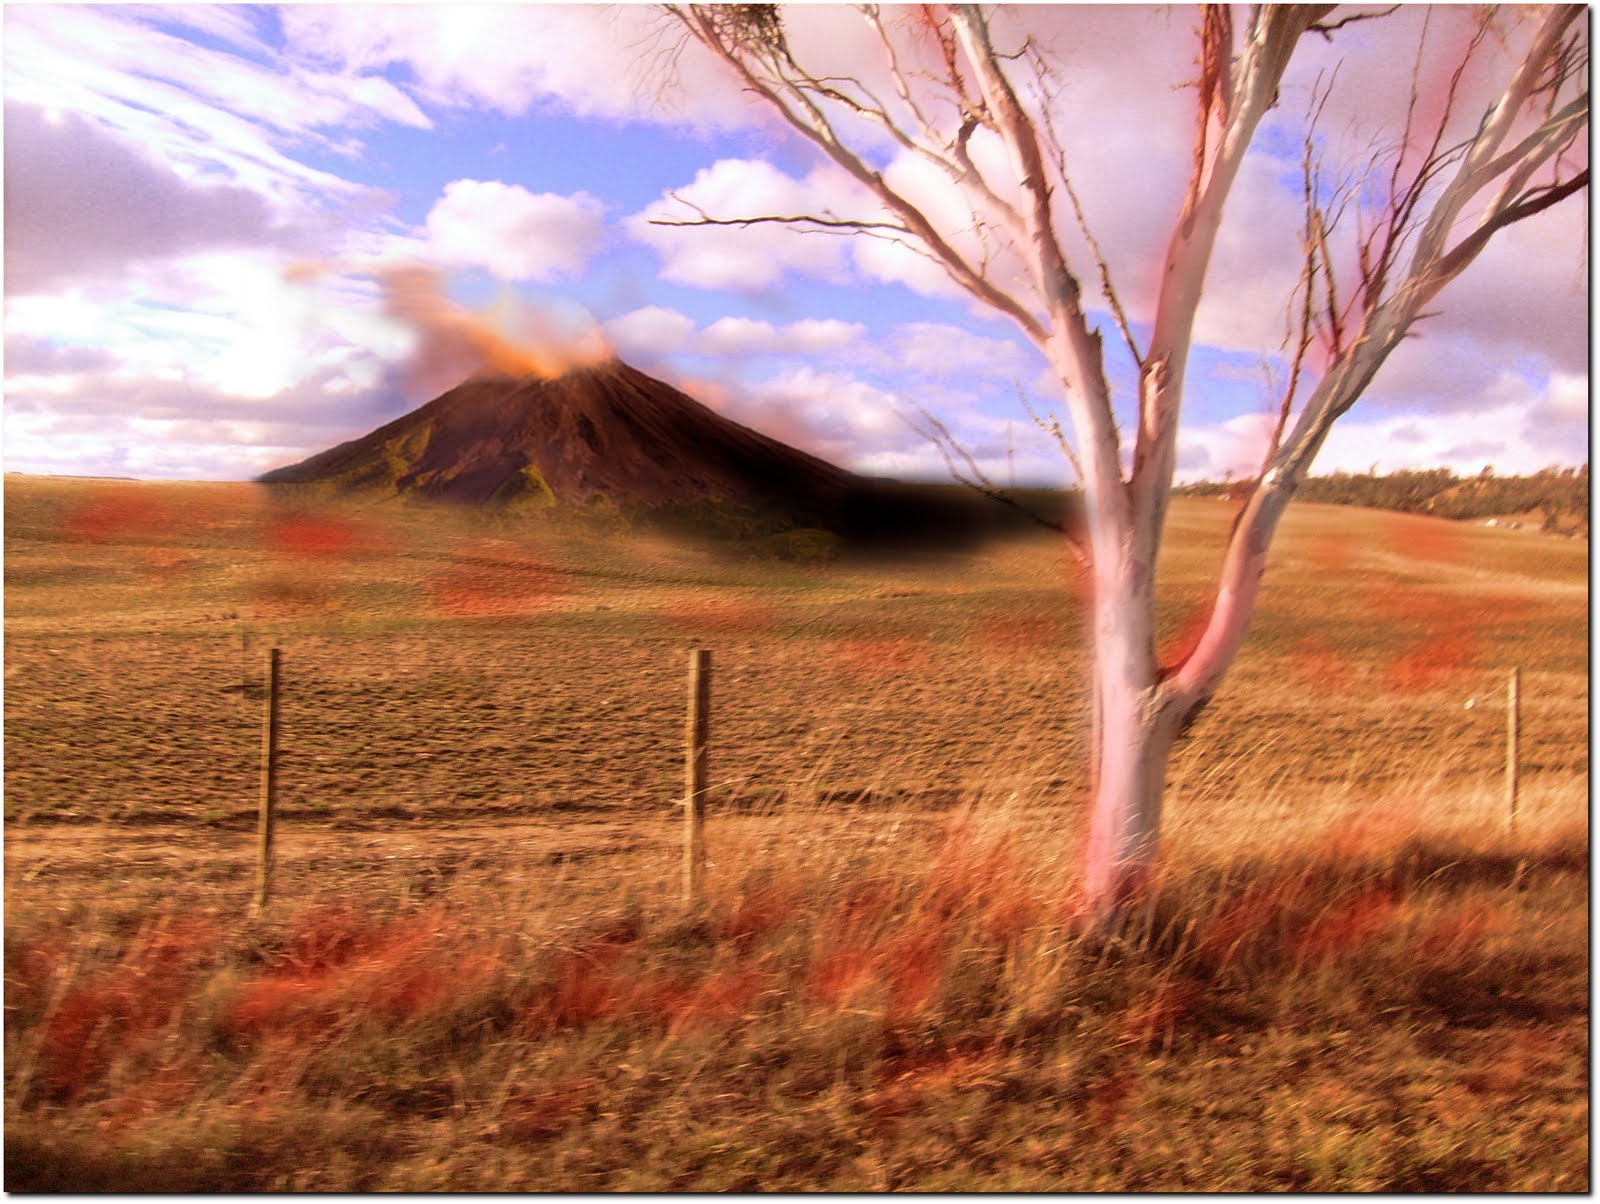
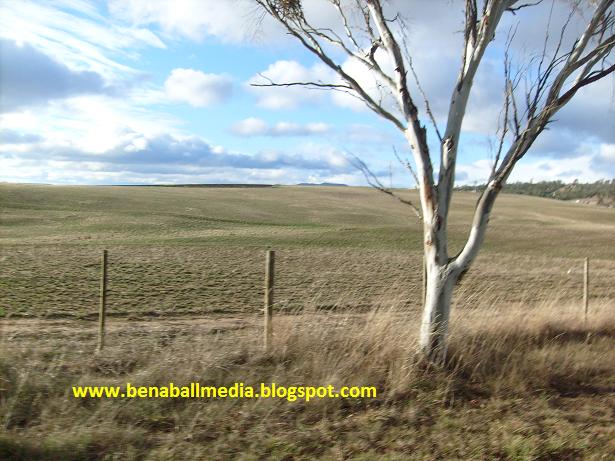
To the right is a picture of a tree and the landscape, in this case a field, behind it.
As you can see, even though the tree isn’t in the center of the picture it’s what you’ll look at, you focus on the tree.
But what would happen if there was a more detailed landscape behind it?
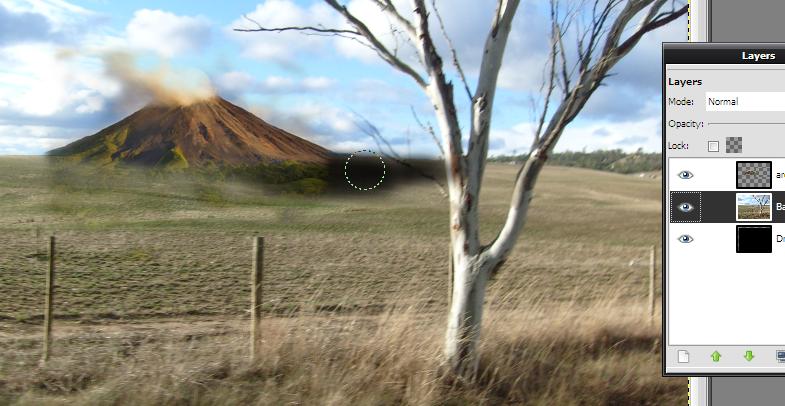
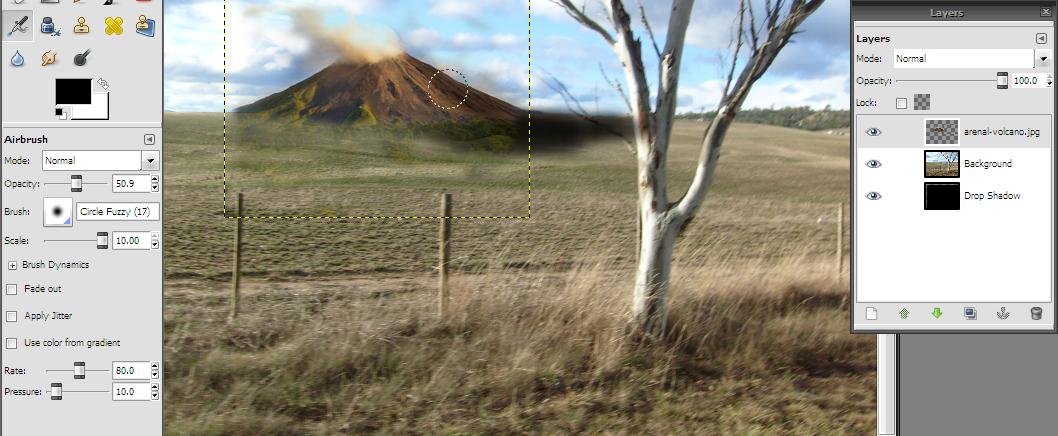
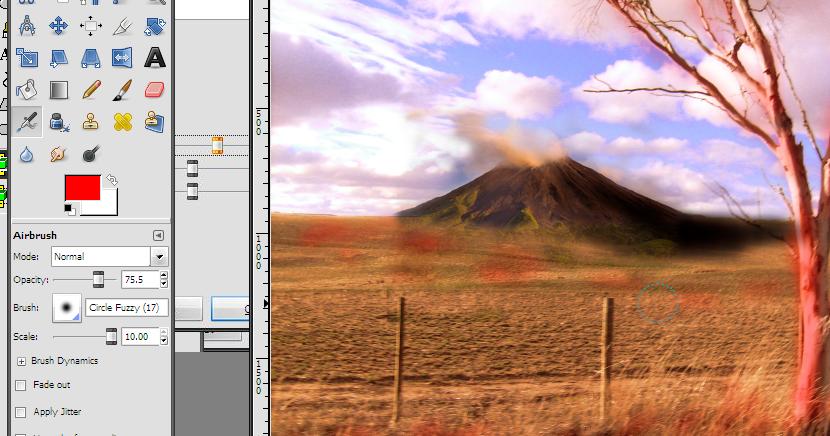
Let’s say you edited in a volcano on the field behind the tree . . .
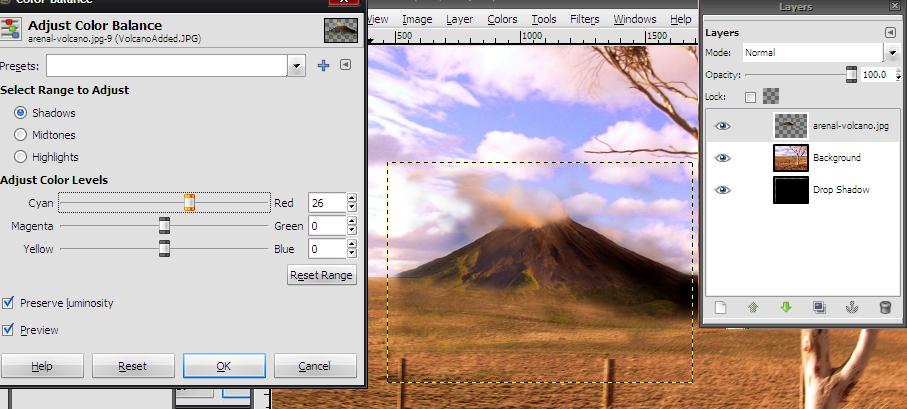
 Now there’s a volcano in the field behind it, as you can see the tree still seems to be the focus of the picture, despite the volcano in the background.
But what do you think? Is the volcano taking the spotlight?
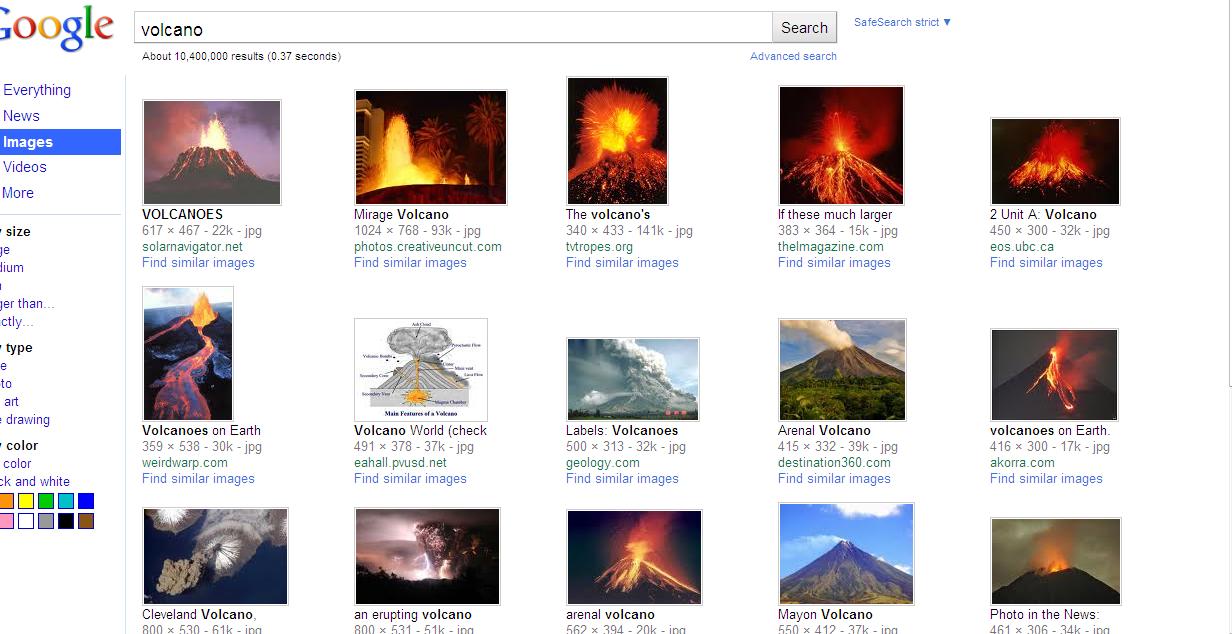
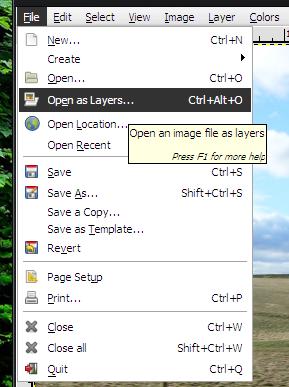
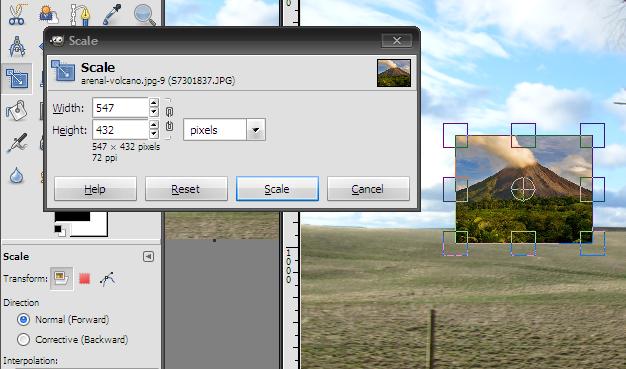
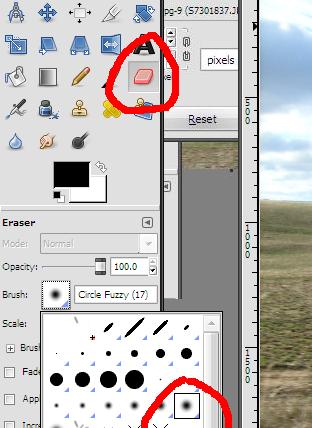
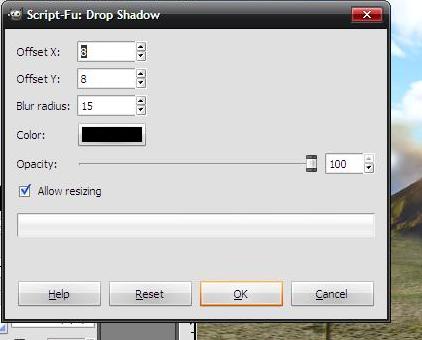
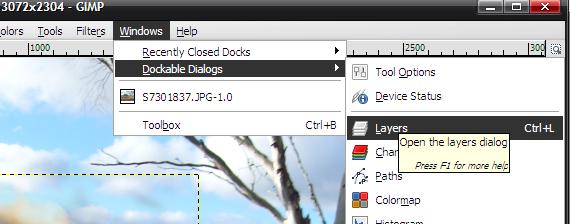
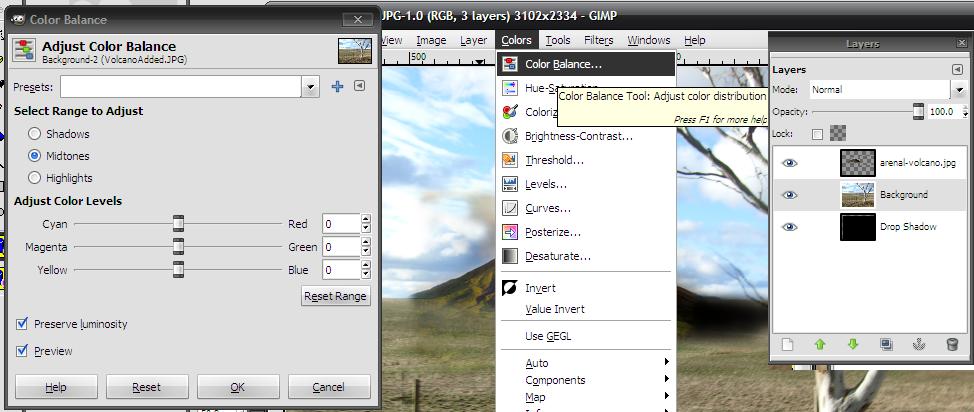
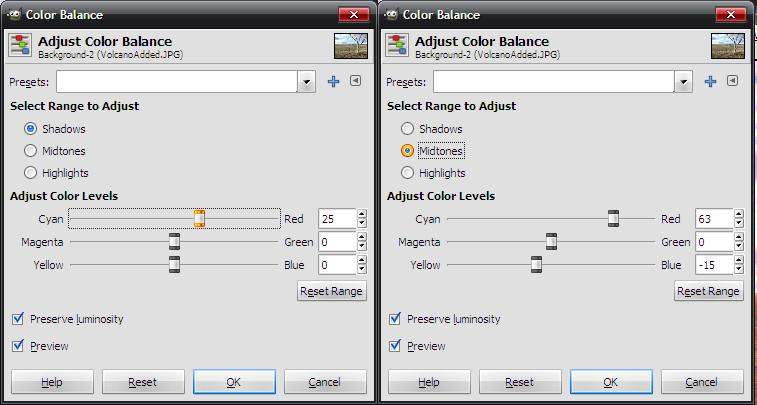
Want to see how to add a volcano into your own pictures? Its free I’ll show you how.
Click here!______________________________________________________________
The third technique is the time of day it was taken, beginner photographers may not think of this when starting out, taking pictures at the right time of day gives the picture a different effect.
This was taken late afternoon while it was overcast to give it a gloomy grey effect, with no shadows, you can imagine that if this photo was taken during the middle of the day in the sun, it would have a shadow, it would be bright and cheerful.
It depends on you and what emotions you want viewers of your pictures to absorb, I personally took this without the light so it gives a questionable appearance, and it would put less attention on the shadows and more attention on the pine cone.
The last technique is that the picture is taken close up using the ‘flower’ feature on the camera, this gives great detail to the pine cone and the grass, but adds this nice blurred effect to the mountains and trees in the distance.
________________________________________________________________
Example Tip 2 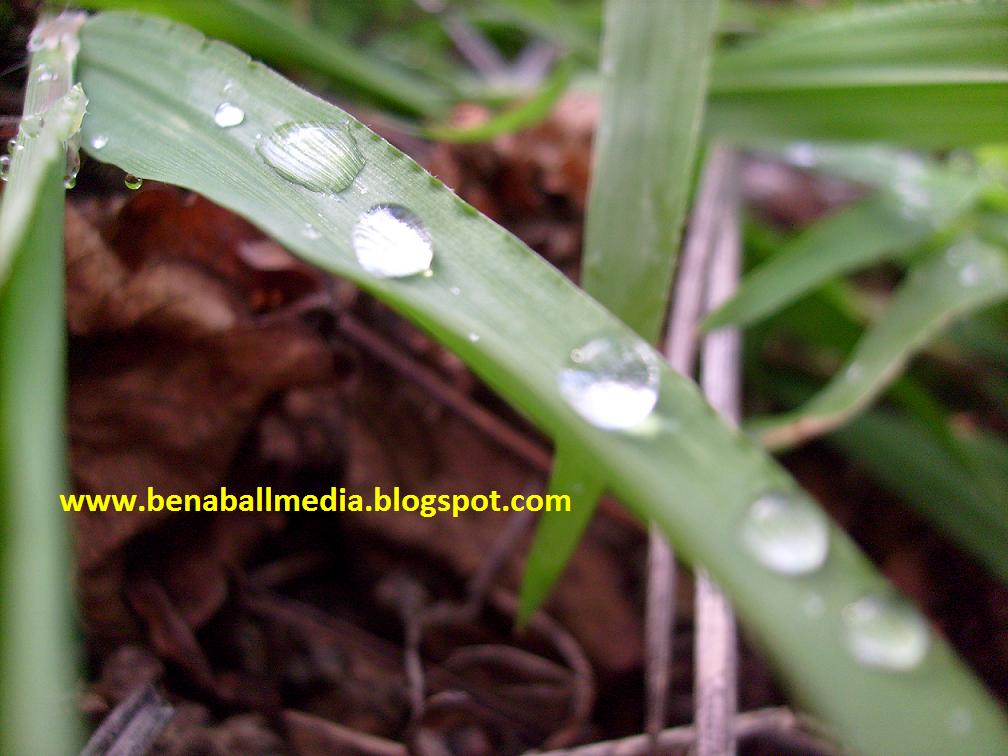 However, if you are doing something close up, without a landscape or something behind it then centering it the middle can actually give the photo a good effect, look at the photo to the right, notice a few things.
1. The whole object (leaf of grass) isn’t completely in the middle, but it crosses through the middle.
2. The picture focus isn’t focused in the center, but focused on the water drops in the top left corner.
3. Mellow lighting suggests the picture was taken during overcast.
This picture works because this picture doesn’t have a large background behind it to give it depth, instead it has more of an enclosed feel to it, because of the view.
_________________________________________________________________
So hope that gives you a good idea on how to take some artistic photos using simple techniques.
Go take some photos!
If you’d like me to check out your photo’s, or even post them on this blog just contact me.
Until next time,
Cya